
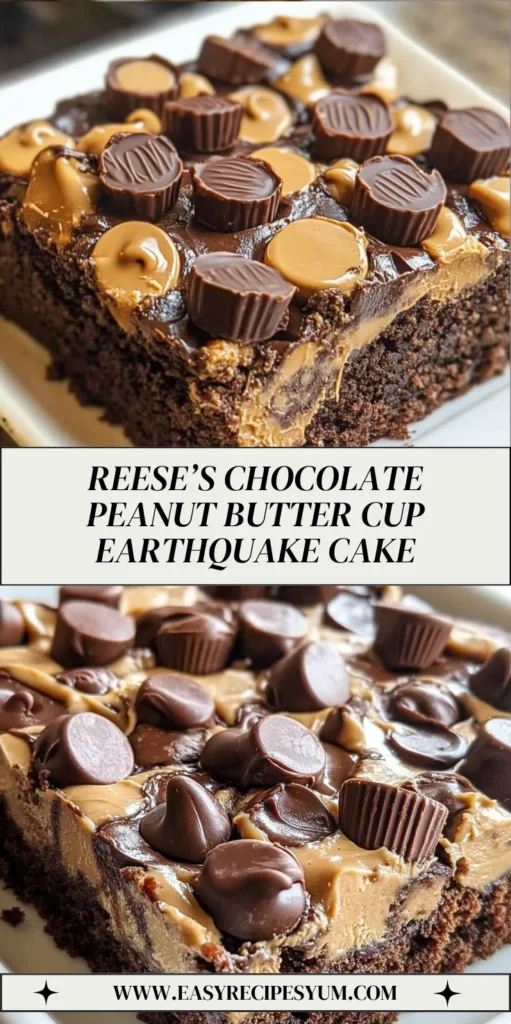
Introduction to Reese’s Chocolate Peanut Butter Cup Earthquake Cake
Welcome to a dessert lover’s dream: the Reese’s Chocolate Peanut Butter Cup Earthquake Cake! If you’re anything like me, life can get a bit hectic, and finding time to whip up something special can feel impossible. This cake is your answer—it’s indulgent yet simple enough to bring joy without taking hours in the kitchen.
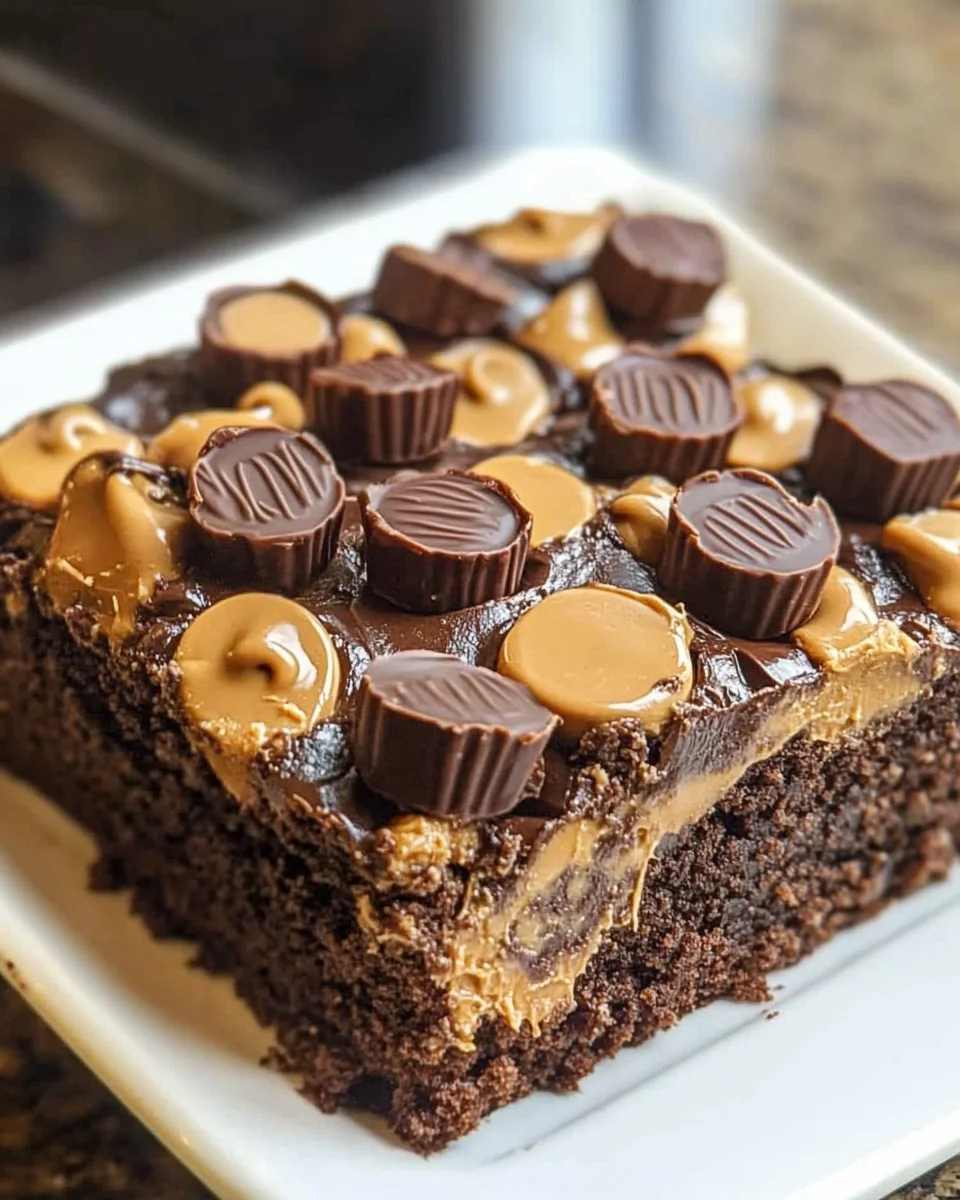
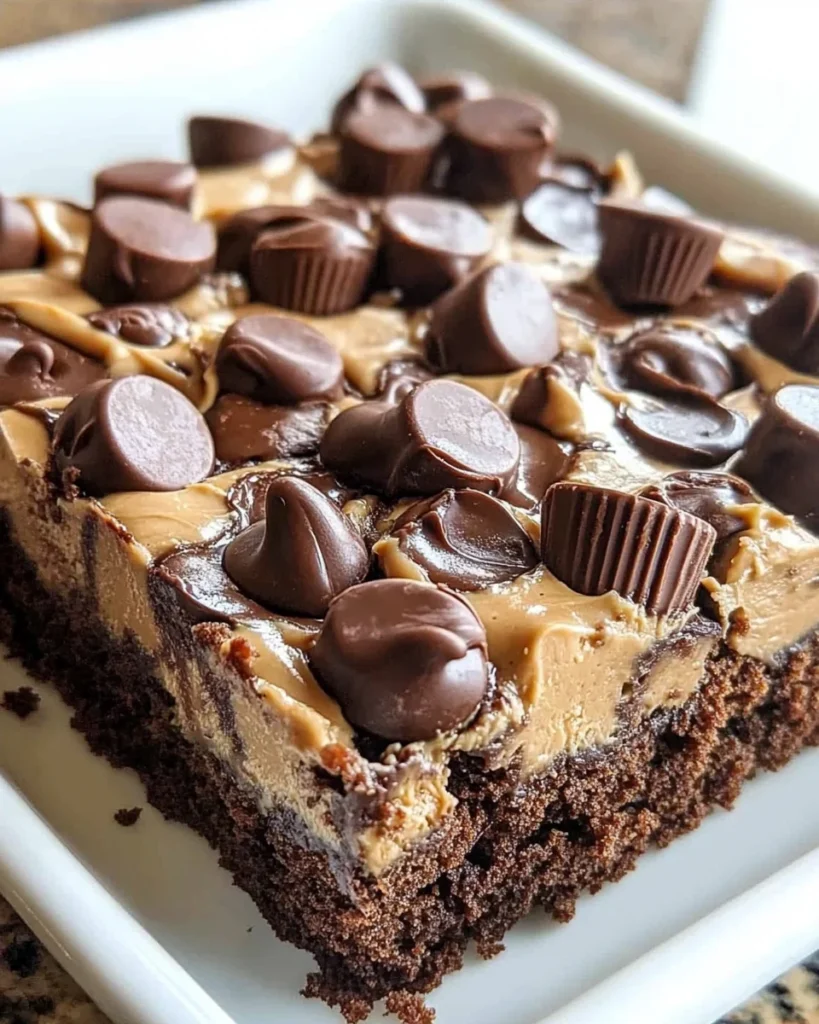
Imagine rich chocolate cake cradling creamy peanut butter frosting, topped with delightful mini Reese’s cups! It’s that perfect blend of flavors that makes it a crowd-pleaser, ready to impress your family or satisfy your sweet cravings after a busy day.
Why You’ll Love This Reese’s Chocolate Peanut Butter Cup Earthquake Cake
This Reese’s Chocolate Peanut Butter Cup Earthquake Cake is a cheat code for busy moms like us! It’s straightforward to prepare, requiring minimal hands-on time while delivering show-stopping flavor and satisfaction.
Imagine the raves you’ll get from loved ones as they savor every bite of this decadent dessert. Plus, who can resist the combination of rich chocolate and creamy peanut butter? It’s a little slice of heaven!
Ingredients for Reese’s Chocolate Peanut Butter Cup Earthquake Cake
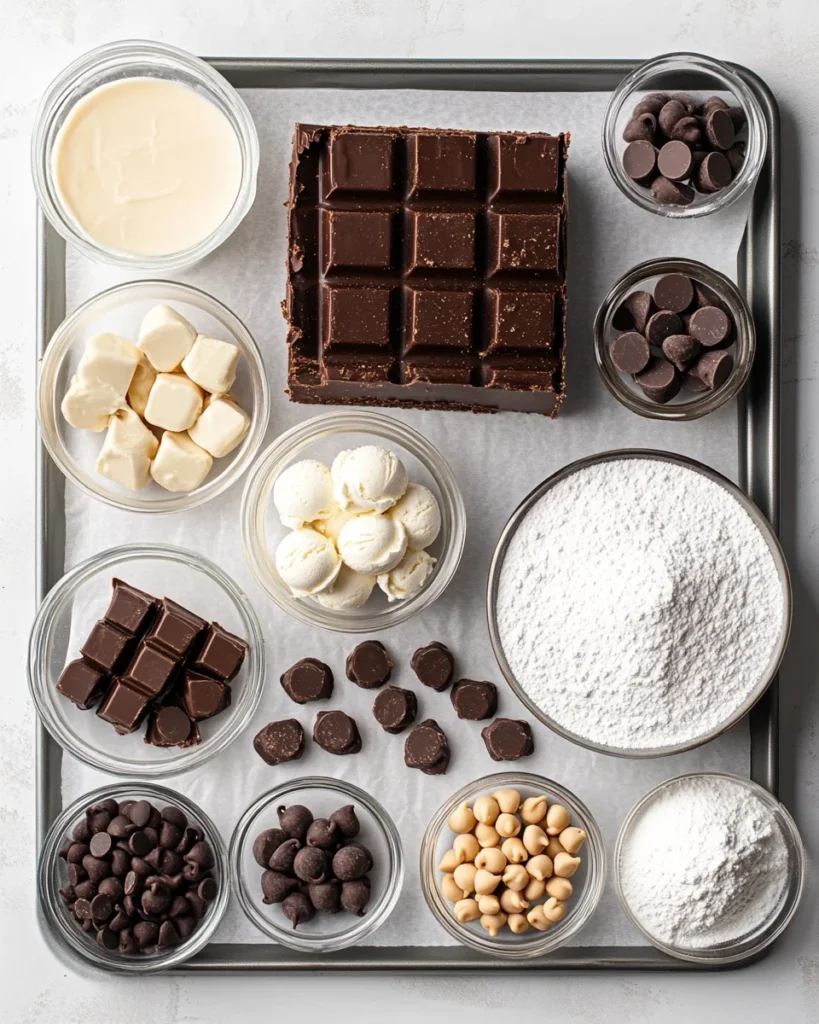
Ready to whip up this fabulous cake? Here’s what you’ll need:
- Dark chocolate fudge cake mix: The star of the show! It provides a rich, deep chocolate flavor that brings this cake to life.
- Cream cheese: Softened for easy mixing, it gives that luscious, creamy layer we all crave in a decadent dessert.
- Unsalted butter: Make sure it’s softened. Butter adds moisture and richness, enhancing the cake’s overall texture.
- Creamy peanut butter: For that delightful peanut flavor! I prefer the creamy variety for a smooth texture, but chunky works too if you like a little crunch!
- Vanilla extract: Just a splash! This adds subtle sweetness and enhances the cake’s flavors, making everything feel harmonious.
- Powdered sugar: Essential for the frosting! It sweetens and thickens the peanut butter layer, ensuring that it’s perfectly spreadable.
- Chocolate chips: These little bursts of chocolate create delightful pockets of gooeyness in every slice.
- Miniature Reese’s peanut butter cups: Halved for optimal gooeyness and crunch, they’re the perfect topping to take this cake to the next level.
- Vanilla ice cream: Not a must, but I highly recommend it! A scoop of ice cream is the perfect companion, balancing the cake’s richness.
For the exact quantities of each ingredient, you can check the end of the article. It’s all available for printing, making it super easy to get started!
How to Make Reese’s Chocolate Peanut Butter Cup Earthquake Cake
Step 1: Preheat and Prepare the Baking Dish
First things first, let’s get that oven hot! Preheat it to 350°F (175°C). This is crucial because starting with a preheated oven ensures the cake rises beautifully and bakes evenly. Next, grab your 9×13-inch baking dish and grease it with cooking spray or a bit of butter. This way, we’ll avoid any disastrous sticking!
Step 2: Make the Cake Batter
Now, let’s whip up that chocolate cake batter! In a large bowl, prepare the dark chocolate fudge cake mix according to the package instructions. Usually, this means adding some oil, eggs, and water. After mixing, whisk until everything is smooth and well combined. It’s important to not overmix—gentle but thorough mixing makes for a light, fluffy cake. Pour this heavenly batter into your greased baking dish, spreading it evenly.
Step 3: Prepare the Peanut Butter Layer
In another bowl, let’s create that luscious peanut butter mix! Beat together the softened cream cheese, butter, creamy peanut butter, and vanilla extract until smooth and creamy. This mixture should be thick but spreadable. If it feels too stiff, you can add a splash of milk to loosen it up. Trust me, this layer adds an incredible richness that complements the chocolate perfectly!
Step 4: Assemble the Cake
Spread your creamy peanut butter layer over the cake batter in the baking dish. Use a spatula to make it as even as possible. Then comes the fun part—sprinkle chocolate chips and halved miniature Reese’s cups all over the top. Press them gently into the peanut butter layer; this helps them sink slightly as the cake bakes, creating gooey chocolate-peanut butter goodness.
Step 5: Bake the Cake
It’s time to bake! Place the dish in the preheated oven and let it bake for 45-50 minutes. Keep an eye on it. You’ll know the cake is ready when a toothpick inserted into the center comes out clean. Avoid overbaking; we want that lovely moist texture!
Step 6: Cool and Serve
Once your cake is done, remove it from the oven and let it cool completely on a wire rack. This cooling step is vital, as it allows the cake to set up nicely. Once it’s cool, slice it up, and don’t forget to serve with a scoop of vanilla ice cream. That melty ice cream on a warm slice? Pure bliss!
Tips for Success
- Make sure all ingredients are at room temperature for better mixing.
- Don’t rush the baking—set a timer and check your cake closely!
- For extra decadence, try adding chopped nuts or more chocolate chips.
- Get creative with presentation; drizzle chocolate or peanut butter sauce on top.
- Let the cake cool completely before slicing for the best texture.
Equipment Needed for Reese’s Chocolate Peanut Butter Cup Earthquake Cake
- 9×13-inch baking dish: A standard size for this cake; an alternative is any comparable oven-safe dish.
- Mixing bowls: You’ll need at least two; one for the cake batter and one for the peanut butter layer.
- Electric mixer: Makes mixing easier; a whisk can work too, but it’ll take longer!
- Spatula: Ideal for spreading the peanut butter layer evenly.
- Cooling rack: Helps the cake cool evenly; a plate can work if you don’t have one.
Variations of Reese’s Chocolate Peanut Butter Cup Earthquake Cake
- Gluten-Free Option: Substitute the dark chocolate fudge cake mix with a gluten-free version. This way, everyone can enjoy a slice without worry!
- Nut Butter Twist: Swap out the creamy peanut butter for almond butter or cashew butter for a different flavor profile. Each nut butter brings its unique taste to the table!
- Chocolate Overload: For true chocolate lovers, use chocolate frosting in place of the peanut butter layer, then top it off with extra chocolate chips and drizzles of chocolate syrup.
- Healthier Alternative: Try Greek yogurt instead of cream cheese for a lighter frosting that still packs flavor. It’s an easy way to cut calories while keeping the creaminess!
- Fruit Additions: Add sliced bananas or strawberries to the peanut butter layer. The fresh fruit adds a refreshing contrast to the richness of the cake.
Serving Suggestions for Reese’s Chocolate Peanut Butter Cup Earthquake Cake
- Pair with vanilla ice cream: This classic combo balances the cake’s richness perfectly.
- Serve with a drizzle: A drizzle of chocolate or caramel sauce elevates the presentation.
- Enjoy with coffee: A hot cup of coffee complements the cake’s sweetness.
- Garnish with whipped cream: Add a dollop of whipped cream for an elegant touch.
- Fresh berries: Serve alongside fresh raspberries or strawberries for a fruity contrast.
FAQs about Reese’s Chocolate Peanut Butter Cup Earthquake Cake
Got questions? I’ve got answers! Here are some commonly asked questions about this delightful dessert.
Can I make this cake ahead of time?
Absolutely! You can bake the cake a day in advance. Just store it in an airtight container at room temperature to keep it fresh. When you’re ready to serve, warm it slightly and add the ice cream for that perfect finish!
How do I store leftovers?
Store any leftover slices in an airtight container. It can stay at room temperature for up to two days or in the refrigerator for up to a week. Just be sure to bring it back to room temperature before serving for the best flavor!
Can I freeze Reese’s Chocolate Peanut Butter Cup Earthquake Cake?
Yes, you can! Be sure to wrap slices tightly in plastic wrap and then place them in a freezer-safe container. They can last up to three months, allowing you to enjoy this treat whenever the craving strikes!
Can I use other flavors of cake mix?
Definitely! While dark chocolate fudge is a favorite, you can switch it up with a chocolate chip or even a vanilla cake mix for a unique flavor twist. Just think about what combinations might make your taste buds dance!
What’s the best way to serve this cake?
This cake shines when served warm with a scoop of vanilla ice cream on top. You can also drizzle it with chocolate syrup for an added indulgence. It makes an irresistible dessert for gatherings!
Final Thoughts on Reese’s Chocolate Peanut Butter Cup Earthquake Cake
Indulging in a slice of Reese’s Chocolate Peanut Butter Cup Earthquake Cake is like wrapping yourself in a warm, sweet hug. The combination of rich chocolate and creamy peanut butter creates an experience that’s simply unforgettable. This cake doesn’t just satisfy a craving; it brings joy to family gatherings and friendly get-togethers alike. Plus, the ease of preparation means you can spend less time in the kitchen and more time with loved ones, making memories. Trust me, this delightful dessert is sure to become a cherished favorite in your home, and it’s okay if you want a second slice!
Print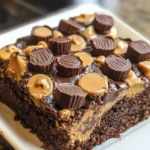
Reese’s Chocolate Peanut Butter Cup Earthquake Cake delights all!
- Total Time: 1 hour 10 minutes
- Yield: 12 servings 1x
- Diet: Vegetarian
Description
Reese’s Chocolate Peanut Butter Cup Earthquake Cake is a decadent dessert that combines rich chocolate cake with creamy peanut butter, making it a delightful treat for all chocolate and peanut butter lovers.
Ingredients
- 1 box dark chocolate fudge cake mix
- 8 oz cream cheese, softened
- 1/2 cup unsalted butter, softened
- 1/2 cup creamy peanut butter
- 1 tsp vanilla extract
- 4 cups powdered sugar
- 1/2 cup chocolate chips
- 1 cup miniature Reese’s peanut butter cups, halved
- vanilla ice cream for serving
Instructions
- Preheat your oven to 350°F (175°C). Grease a 9×13-inch baking dish with cooking spray or butter.
- In a large bowl, prepare the chocolate cake mix according to package instructions (typically adding oil, eggs, and water). Whisk until smooth. Pour the batter into the greased baking dish and spread evenly.
- In another bowl, beat cream cheese, butter, peanut butter, and vanilla until smooth. Gradually add powdered sugar, mixing until thick and creamy.
- Spread the frosting over the cake batter in the dish. Sprinkle with chocolate chips and halved Reese’s, pressing them gently into the frosting.
- Bake in the preheated oven for 45-50 minutes, or until a toothpick inserted in the center comes out clean. Avoid overbaking.
- Let the cake cool completely on a wire rack. Once cooled, slice and serve with a scoop of vanilla ice cream.
Notes
- Ensure all ingredients are at room temperature for best mixing.
- For a richer flavor, add more peanut butter or chocolate chips as desired.
- Leftovers can be stored in an airtight container at room temperature for up to 2 days, or in the refrigerator for up to a week.
- Prep Time: 20 minutes
- Cook Time: 50 minutes
- Category: Dessert
- Method: Baking
- Cuisine: American
Nutrition
- Serving Size: 1 slice
- Calories: 450
- Sugar: 38g
- Sodium: 320mg
- Fat: 24g
- Saturated Fat: 10g
- Unsaturated Fat: 14g
- Trans Fat: 0g
- Carbohydrates: 50g
- Fiber: 2g
- Protein: 6g
- Cholesterol: 30mg
Keywords: Reese’s, Chocolate, Peanut Butter, Earthquake Cake, Dessert, Baking