
Introduction to Raspberry Bread
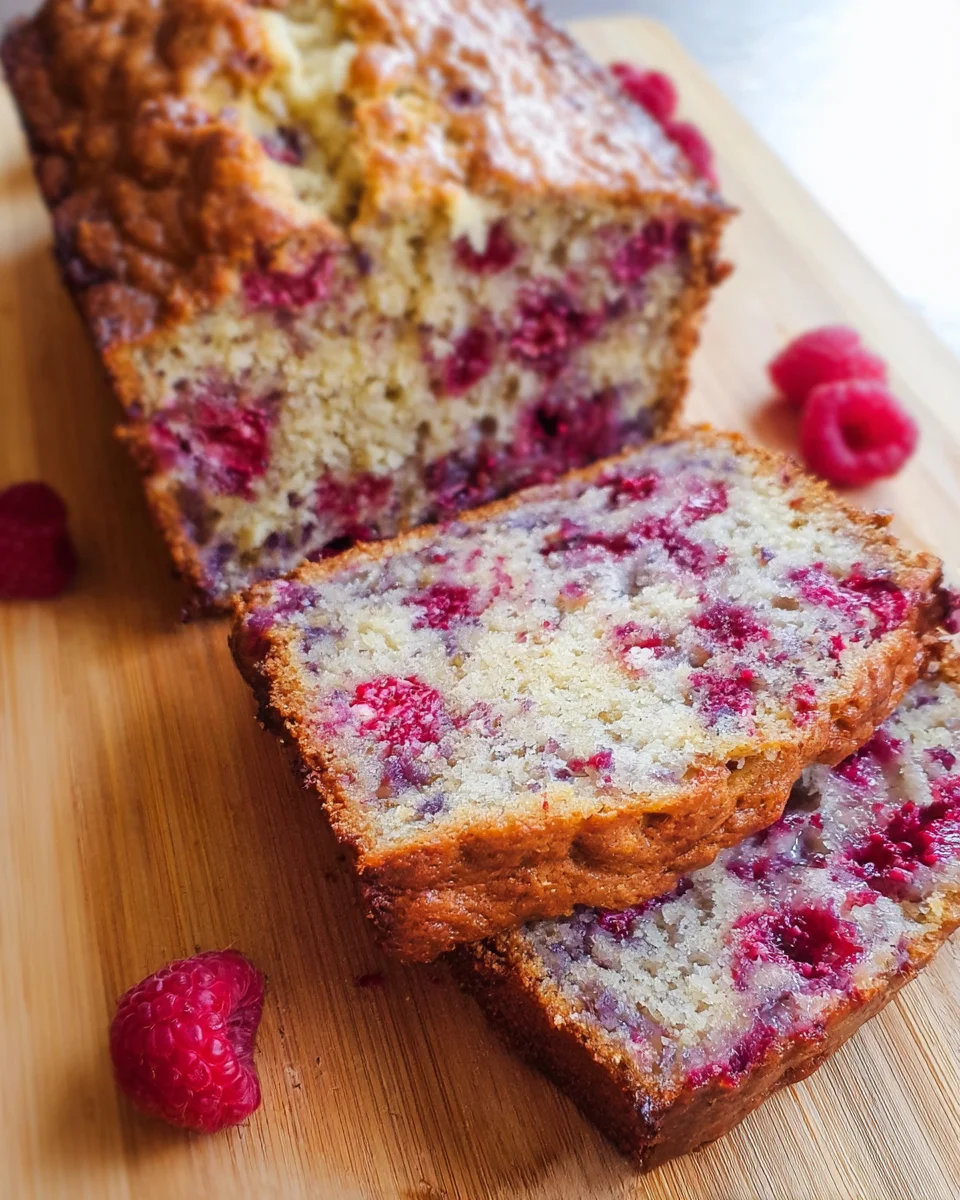
There’s something truly special about the aroma of fresh Raspberry Bread wafting through your kitchen, isn’t there? It’s like a warm hug from a friend, gently wrapping you in comfort. Trust me, this delightful treat is the perfect remedy for a busy day. Whether you’re looking to impress your loved ones at breakfast or simply need a sweet snack on the go, this Raspberry Bread fits the bill. With its moist texture and burst of fruity flavor, it’s sure to become a cherished part of your family’s culinary adventures.
Why You’ll Love This Raspberry Bread
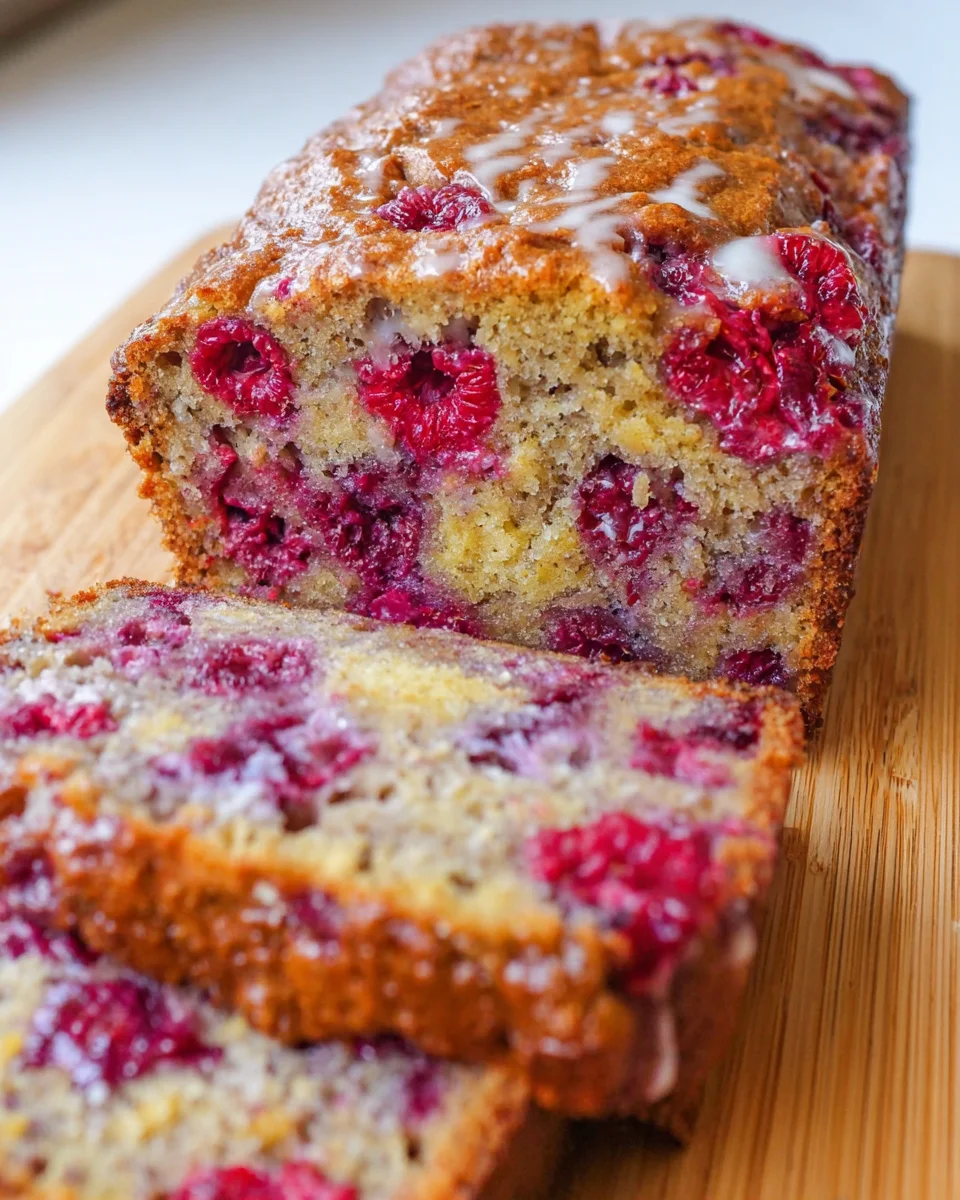
This Raspberry Bread is a game changer for busy moms and professionals. It’s easy to whip up in about an hour, making it an ideal solution for those hectic mornings or last-minute gatherings. Each slice is bursting with sweet, tangy raspberry goodness, which might just turn your breakfast table into a delightful café experience. Plus, it’s versatile enough to enjoy any time of day, whether as a snack or a comforting dessert.
Ingredients for Raspberry Bread
Gathering the right ingredients for your Raspberry Bread is like gathering your best friends for a cozy get-together. Each one plays a crucial role in creating that soft, moist delight. Here’s what you’ll need:
- All-purpose flour: This is the backbone of your bread, providing structure.
- Light brown sugar: Adds a subtle molasses flavor and moisture to the bread.
- Granulated sugar: Sweetens your bread, creating that balanced flavor.
- Baking soda: A leavening agent that helps your bread rise beautifully.
- Salt: Enhances the sweetness and rounds out the flavors, though it’s optional.
- Unsalted butter: Provides richness and a tender crumb; melted for easy mixing.
- Large egg: Binds the ingredients together while adding moisture.
- Buttermilk: Adds tanginess and makes the bread incredibly moist.
- Canola or vegetable oil: Contributes to moisture and keeps the bread fresh longer.
- Vanilla extract: Infuses a warm, aromatic flavor that complements the raspberries.
- Raspberries: The star of the show! These juicy gems provide bursts of sweet-tart flavor in every bite.
For exact measurements, check the bottom of the article where I have them available for printing. Feel free to substitute ingredients as needed; for example, yogurt can replace buttermilk or any neutral oil can be used in place of canola. Happy baking!
How to Make Raspberry Bread
Preheat the Oven
First things first, let’s get that oven preheated! Set it to 350°F. Preheating is crucial because it helps the bread rise evenly and creates that delightful crust we all love. A hot oven ensures that every slice of your Raspberry Bread is baked to perfection.
Prepare the Pan
Now, let’s prepare your loaf pan. Take a 9×5-inch loaf pan and spray it with floured cooking spray or simply grease it with butter and dust it with flour. This simple step prevents your bread from sticking, ensuring that your beautiful creation comes out easily for slicing and serving.
Mix Dry Ingredients
In a large mixing bowl, whisk together the flour, sugars, baking soda, and salt. This combination forms the foundation of your batter. Make sure everything is mixed well. This way, your Raspberry Bread will rise beautifully and have that feather-light texture.
Combine Wet Ingredients
In a separate microwave-safe bowl, melt the butter for about 45 seconds. Let it cool slightly to avoid scrambling the egg! Once cool, add the egg, buttermilk, oil, and vanilla. Whisk these ingredients together until well incorporated. The wet mix will add moisture and flavor to your bread.
Create the Batter
Now it’s time to bring the wet and dry ingredients together. Pour your wet mixture over the dry ingredients. Gently stir until just combined; a few lumps are perfectly fine! Avoid overmixing, or you’ll end up with tough bread, and we definitely want it light and fluffy!
Prepare the Raspberries
Grab your raspberries and toss them with a couple of tablespoons of flour in a medium bowl. This technique prevents them from sinking to the bottom of your Raspberry Bread during baking. No one wants a bread full of berries resting at the bottom—let’s keep them evenly distributed!
Fold in Raspberries
Gently fold the floured raspberries into the batter. Use a spatula and do this lovingly, taking care not to break the berries. Remember, those juicy morsels are what will give your bread that fantastic burst of flavor in every bite!
Bake the Bread
Transfer the batter into your prepared loaf pan, smoothing the top. Pop it into the preheated oven and bake for about 45 minutes to 1 hour. To test for doneness, insert a toothpick into the center—if it comes out clean or with just a few moist crumbs, your bread is ready! After baking, let it cool in the pan for about 15 minutes before transferring it to a wire rack to cool completely. This helps maintain its moist texture!
Tips for Success
- Always preheat your oven. It’s the secret to achieving that perfect rise.
- Measure your ingredients accurately for the best results. A kitchen scale can be a handy tool!
- Don’t overmix the batter; keep it lumpy for a tender loaf.
- Use fresh or frozen raspberries, ensuring they are completely dry before mixing.
- Let the bread cool before slicing to maintain its moist texture.
Equipment Needed
- 9×5-inch loaf pan: If you don’t have one, use an 8×4-inch pan, but adjust the baking time slightly.
- Mixing bowls: Having a set in various sizes makes prepping easier.
- Whisk: A fork works in a pinch for mixing dry and wet ingredients.
- Spatula: You can use a wooden spoon or silicone spatula to gently fold in the raspberries.
Variations
- Nutty Delight: Add a half cup of chopped walnuts or pecans for a delicious crunch.
- Gluten-Free Option: Substitute all-purpose flour with a 1:1 gluten-free baking blend for a gluten-free variation.
- Citrus Twist: Add the zest of one lemon or orange to the batter for a refreshing citrus flavor.
- Chocolate Lover’s: Fold in a half cup of chocolate chips alongside the raspberries for a sweet, indulgent treat.
- Herbal Infusion: Incorporate a teaspoon of fresh thyme or rosemary, which pairs beautifully with the raspberries.
Serving Suggestions
- Serve warm slices with a pat of butter or a drizzle of honey for extra indulgence.
- Pair with a cup of freshly brewed coffee or a soothing herbal tea.
- Top with whipped cream or a scoop of vanilla ice cream for a delightful dessert.
- Garnish with fresh mint leaves for a pop of color and freshness.
FAQs about Raspberry Bread
As with any delightful recipe, questions are bound to arise. Here are some common queries about Raspberry Bread that I’ve gathered over my years of baking this sweet treat:
Can I use frozen raspberries in this recipe?
Absolutely! If you’re using frozen raspberries, just toss them straight into the batter without thawing. They may bleed slightly, but that only adds to the color and flavor of your Raspberry Bread.
How can I tell when my Raspberry Bread is done baking?
A toothpick is your best friend here! Insert it into the center of the loaf. If it comes out clean or with a few moist crumbs, your bread is ready. Keep an eye on the top; it should be slightly domed and springy to the touch.
Can I replace the buttermilk?
Yes, you can easily substitute buttermilk with regular milk or an equal mixture of milk and plain yogurt. This keeps the moisture intact and helps achieve that fluffy texture we all love.
How should I store my Raspberry Bread?
Store your Raspberry Bread in an airtight container at room temperature for up to a week. For longer storage, slice it up and freeze it for up to six months—perfect for baking ahead for those busy days!
What can I serve with Raspberry Bread?
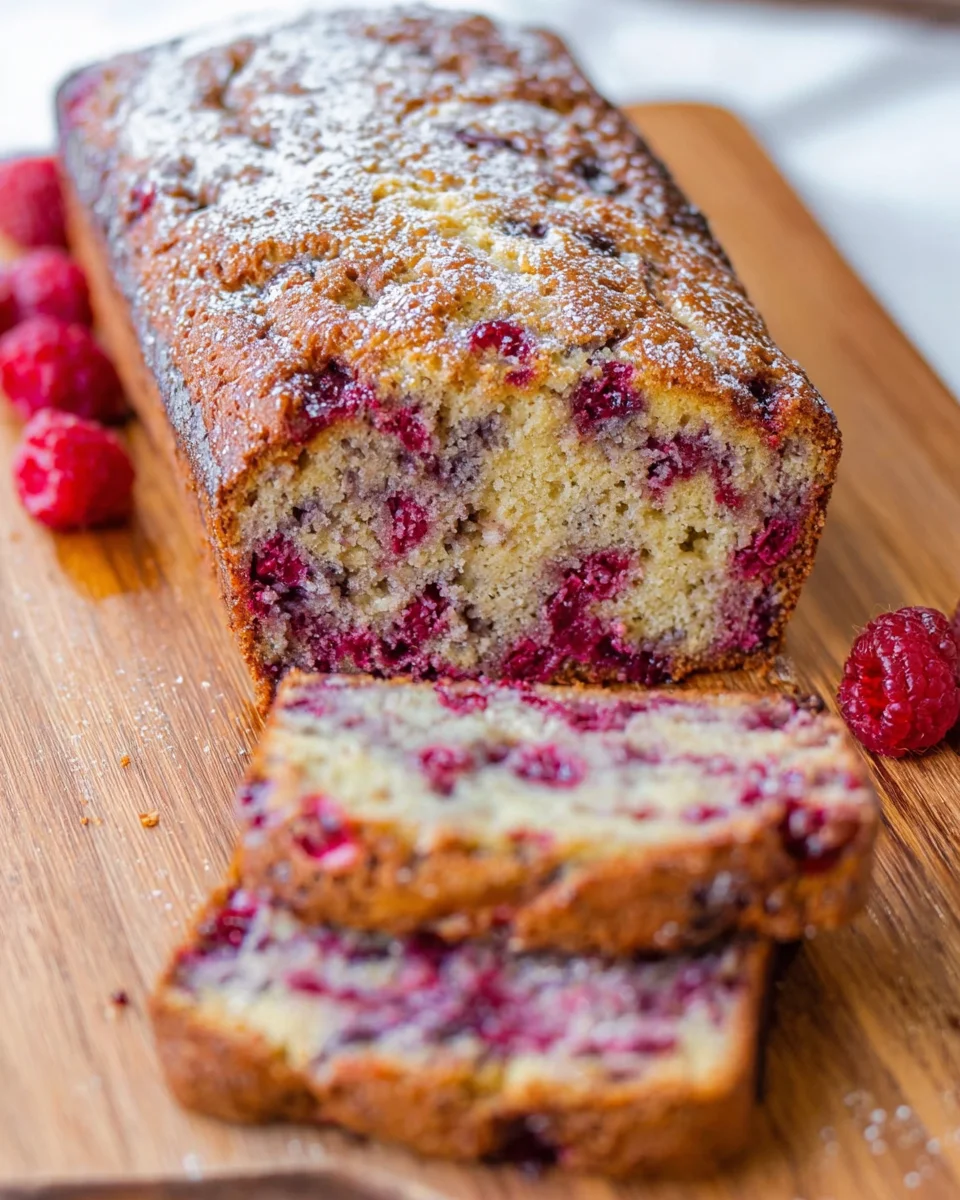
This sweet bread is versatile! Enjoy it as is, or serve it with butter, cream cheese, or even a dusting of powdered sugar. Pair it with coffee or tea for a delightful afternoon snack.
Final Thoughts
There’s something magical about baking Raspberry Bread. From the moment the raspberries mingle with batter to that heavenly aroma filling your kitchen, it’s an experience that brings warmth and joy. This recipe isn’t just about delicious slices; it’s about creating memories. Imagine sitting around the table with loved ones, sharing stories over freshly baked bread. Whether it’s a busy morning or a leisurely afternoon, this treat offers a little sweetness in every moment. I hope this recipe becomes a staple in your home, just as it has in mine, bringing smiles with every slice you’re lucky enough to share!
Print
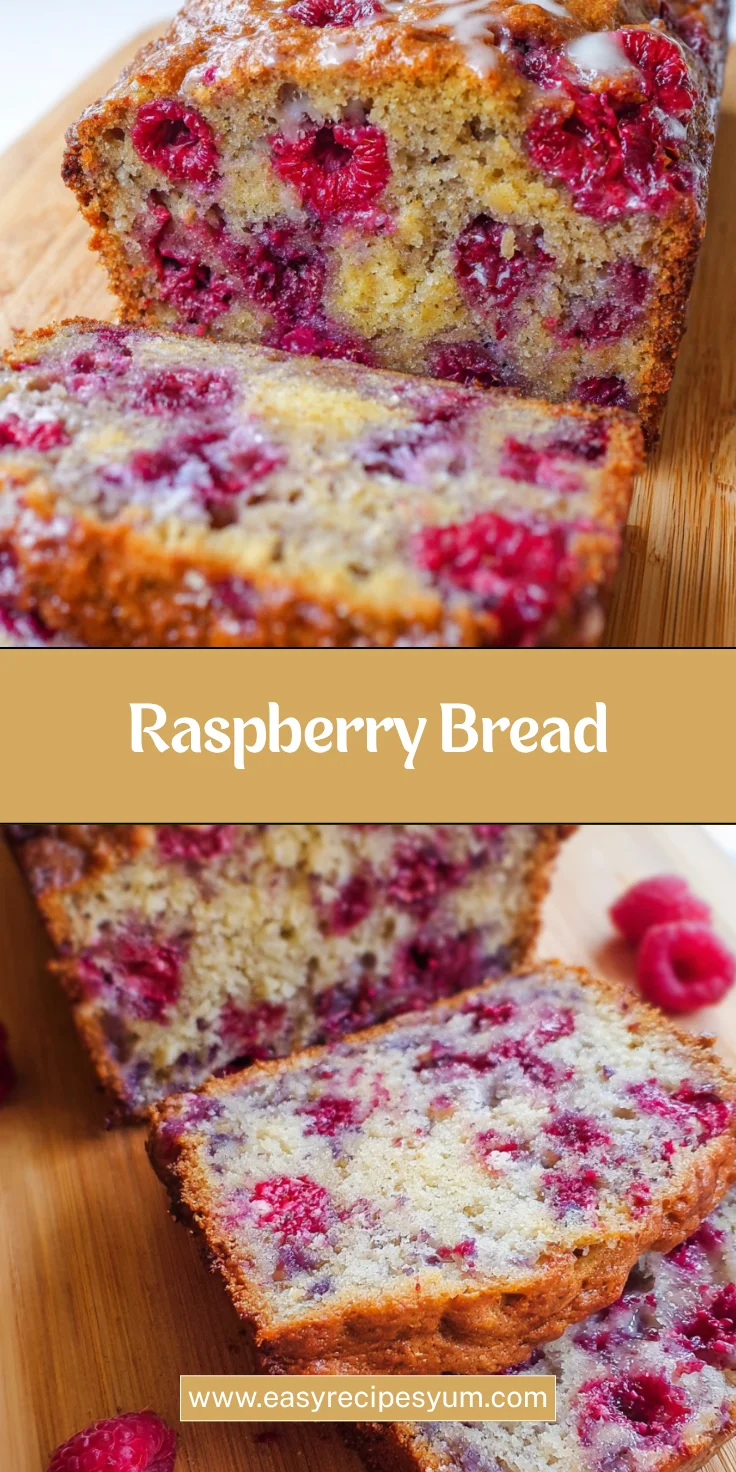
Raspberry Bread
- Total Time: 1 hour 15 minutes to 1 hour 30 minutes
- Yield: 1 loaf 1x
- Diet: Vegetarian
Description
This Raspberry Bread is a moist and flavorful treat, perfect for breakfast or a snack. The blend of sweet raspberries with a soft bread base makes it a delightful addition to any meal.
Ingredients
- 2 cups + 4 tablespoons all-purpose flour, divided
- ¾ cup light brown sugar, packed
- ¼ cup granulated sugar
- 1 teaspoon baking soda
- Pinch salt, optional and to taste
- ¼ cup unsalted butter, melted
- 1 large egg
- ¾ cup buttermilk
- ¼ cup canola or vegetable oil
- 2 teaspoons vanilla extract
- 10 to 12 ounces raspberries, about 2 cups
Instructions
- Preheat oven to 350F. Spray one 9×5-inch loaf pan with floured cooking spray, or grease and flour the pan; set aside.
- In a large bowl, add 2 cups + 2 tablespoons flour, sugars, baking soda, optional salt, and whisk to combine; set aside.
- In a medium microwave-safe bowl or glass measuring cup, melt the butter, about 45 seconds on high power. Allow butter to cool momentarily so you don’t scramble the egg.
- To the butter, add the egg, buttermilk, oil, vanilla, and whisk to combine.
- Pour wet over dry and stir until just combined; don’t overmix. Batter will be somewhat lumpy and don’t try to stir the lumps smooth or bread will be tough; set aside.
- In a medium bowl, add the raspberries, 2 tablespoons flour, and toss lightly to combine (coating berries in flour helps to reduce sinking while baking).
- Add the raspberries to the batter and fold very lightly to combine.
- Turn batter out into prepared pan, smoothing the top lightly with a spatula and pushing it into corners and sides as necessary.
- Bake bread for 45 minutes to an hour. Bread is done when top is set in the middle, slightly domed, springy to the touch, and a toothpick inserted in the center (if you can find a patch without hitting raspberries) comes out clean or with a few moist crumbs, but no batter.
- Allow bread to cool in pan for about 15 minutes before turning out on a wire rack to cool completely before slicing and serving.
- Bread will keep airtight at room temperature for up to 1 week, or in the freezer for up to 6 months.
Notes
- Ensure to coat the raspberries in flour to prevent them from sinking to the bottom of the bread.
- If using frozen raspberries, do not thaw before adding them to the batter.
- Prep Time: 15 minutes
- Cook Time: 45 minutes to 1 hour
- Category: Baking
- Method: Baking
- Cuisine: American
Nutrition
- Serving Size: 1 slice
- Calories: 180
- Sugar: 10g
- Sodium: 120mg
- Fat: 7g
- Saturated Fat: 4g
- Unsaturated Fat: 2g
- Trans Fat: 0g
- Carbohydrates: 25g
- Fiber: 1g
- Protein: 3g
- Cholesterol: 30mg
Keywords: Raspberry Bread, Quick Bread, Baking, Dessert, Fruits