
Introduction to Cherry Pie Bars Dessert
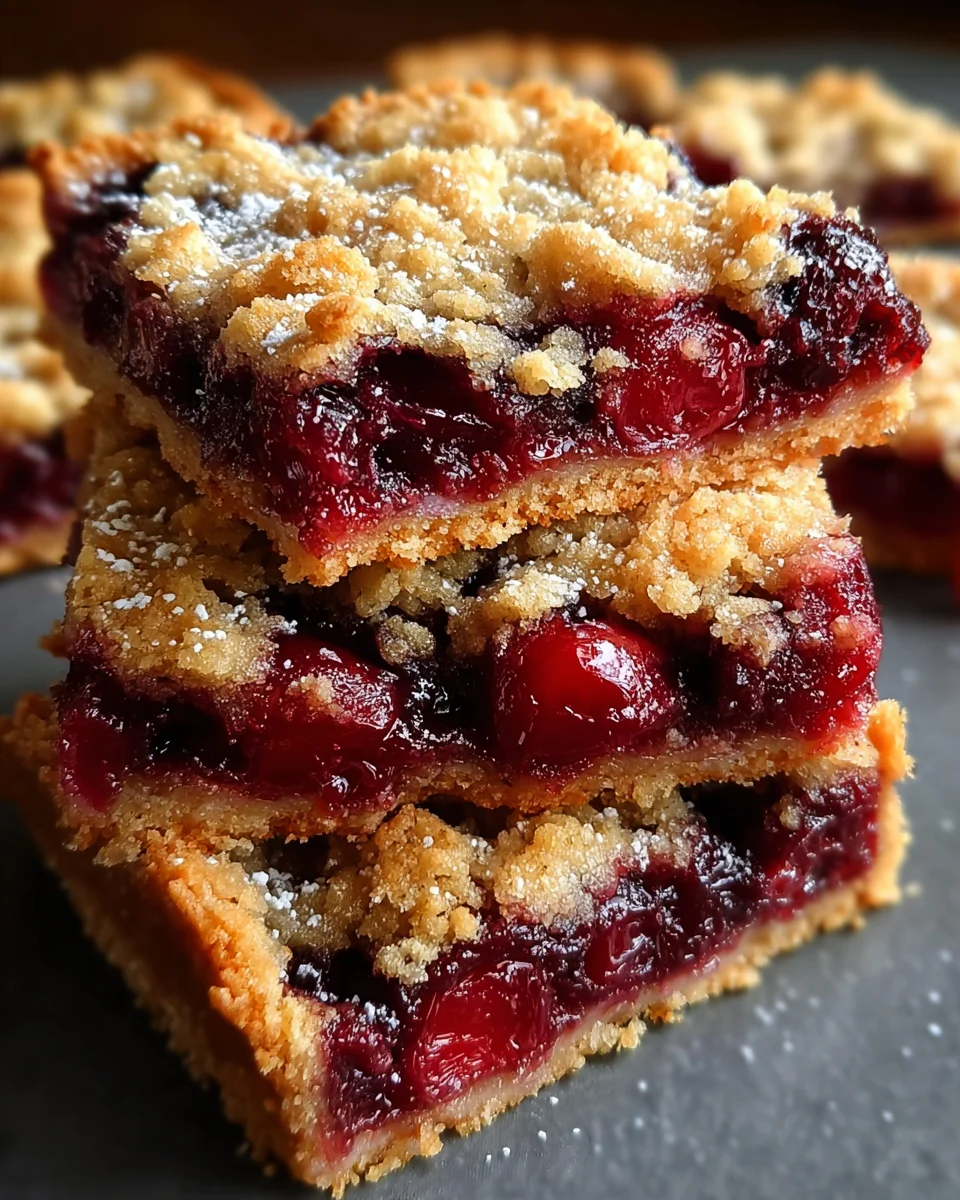
Cherry Pie Bars Dessert is like a warm hug on a plate. It’s the perfect blend of buttery crust and sweet, gooey cherry filling that can brighten any day. As a busy mom, I know how challenging it can be to whip up a delicious dessert with little time to spare. These bars are quick to make and truly impressive, perfect for gatherings or cozy family nights. Plus, they offer that homemade charm without the hours in the kitchen. Ready to treat yourself and your loved ones? Let’s dive into this delightful recipe!
Why You’ll Love This Cherry Pie Bars Dessert
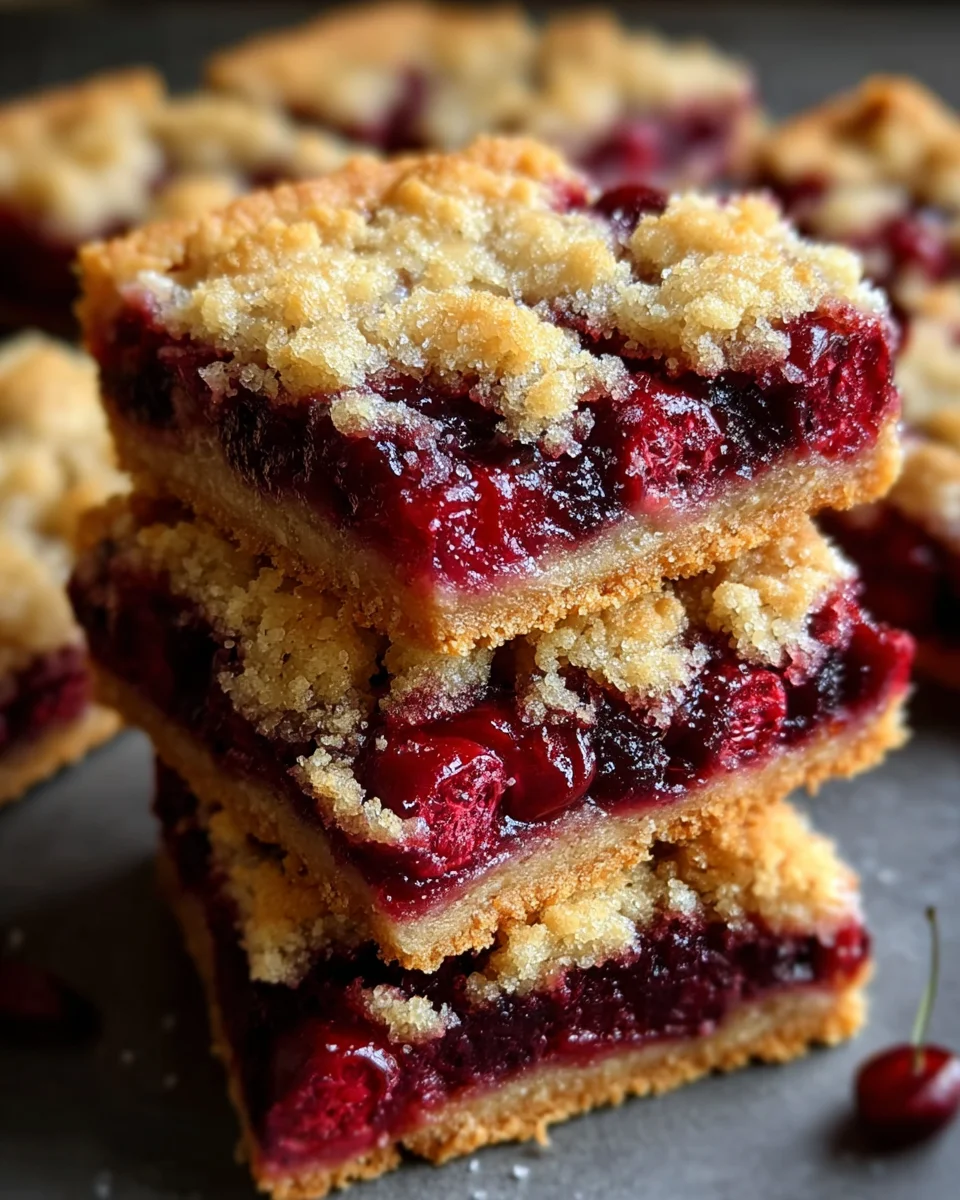
These Cherry Pie Bars Dessert are the answer to your sweet cravings without the fuss. They come together in under an hour, making them a fantastic weeknight treat. The buttery crust offers a perfect balance, while the cherry filling adds a burst of flavor that’ll make your taste buds dance. Plus, they’re easy to slice and serve, meaning you can enjoy your time with family instead of being stuck in the kitchen!
Ingredients for Cherry Pie Bars Dessert
Let’s gather everything we need for these delightful Cherry Pie Bars Dessert! Each ingredient plays a vital role in building incredible flavors and textures. Here’s what you’ll need:
- Unsalted Butter: This is the base for our buttery crust. It melts beautifully and adds richness.
- Granulated Sugar: Sweetness is key! It balances the tartness of the cherries.
- Large Eggs: They help bind everything together and give the bars that perfect texture.
- Vanilla Extract: A splash of vanilla elevates the flavor profile, making the bars taste homemade.
- Almond Extract: This adds a subtle nutty note. If you’re not a fan, feel free to leave it out.
- All-Purpose Flour: The backbone of our dough, ensuring it holds its shape while remaining tender.
- Salt: Just a pinch brings out the sweetness and balances the flavors.
- Cherry Pie Filling: This is our star ingredient! It provides that gooey, sweet filling we love. You can also use fresh cherries, which intensify the flavor significantly!
Remember, the exact quantities for these ingredients are available at the bottom of the article. You can even print them out for convenience! Now that you’re all prepped, let’s get ready to bake these delicious bars!
How to Make Cherry Pie Bars Dessert
Step 1: Preheat and Prepare
Start by setting your oven to 350°F (175°C). This preheating gets the kitchen warm and cozy! Next, grab your 9×13-inch baking pan and lightly grease it with cooking spray. This simple step ensures your bars won’t stick, making for easy serving later on.
Step 2: Cream Butter and Sugar
In a large mixing bowl, add the softened unsalted butter and granulated sugar. Using a hand mixer or stand mixer, beat them together until the mixture is light and fluffy. This process introduces air into the mix, resulting in a tender texture for our Cherry Pie Bars. It’ll smell heavenly, trust me!
Step 3: Add Eggs and Extracts
Now it’s time to incorporate the large eggs, one at a time. Mix well after each addition, ensuring they blend smoothly into the buttery mixture. Then, pour in the vanilla and almond extracts. The blends of these flavors will make your dessert sing!
Step 4: Combine Dry Ingredients
In a separate bowl, whisk together the all-purpose flour and salt. Gradually mix this dry mixture into your wet ingredients, stirring gently. This ensures a uniform dough forms. You want to avoid overmixing, so just blend until you see no more flour. We’re keeping it soft and tender here!
Step 5: Form the Base Layer
Now, press about two-thirds of the dough evenly into the bottom of your greased pan. Make sure it’s nice and flat; this will be the sturdy base for our sweet filling. Don’t worry if it feels sticky—just use your fingers or a spatula to shape it!
Step 6: Add the Cherry Filling
Next, grab that cherry pie filling and spread it evenly over the dough base. If you’re feeling fancy, you could even add some fresh cherries for a real treat! The filling adds that luscious gooeyness we all crave.
Step 7: Top with Remaining Dough
Now, take spoonful of the remaining dough and drop them evenly over the cherry filling. Don’t worry about covering it perfectly; some cherry bits peeking through are totally fine! This creates a delightful topping that bakes into a lovely crust.
Step 8: Bake the Bars
With your oven now warmed up, carefully place the pan in to bake. Allow the bars to bake for about 35 to 40 minutes. You’ll know they’re done when the top turns a beautiful golden brown and fills your kitchen with a sweet aroma. It’s pure bliss!
Step 9: Cool and Slice
Once they’re baked, pull your cherry pie bars out of the oven and let them cool completely in the pan. This cooling is key, as it helps them set. Once cool, slice them into bars—this is where the magic really happens. Now you’re all set to enjoy every delightful bite!
Tips for Success
- Make sure your butter is at room temperature for easy creaming.
- For a more intense flavor, consider using fresh cherries in the filling.
- Allow the bars to cool completely before slicing for cleaner edges.
- Feel free to customize with nuts or spices for added texture and flavor.
- If you have leftovers, store them in an airtight container to keep them fresh.
Equipment Needed
- 9×13-inch Baking Pan: A classic choice! If you don’t have one, an 8×12-inch pan works too.
- Mixing Bowls: A couple of medium bowls will do the trick for combining ingredients.
- Hand Mixer: Great for creaming, but a whisk and some elbow grease work perfectly!
- Spatula: Essential for spreading and scraping down the sides of your bowl.
- Measuring Cups and Spoons: Accurate measurements are key; use a kitchen scale if you prefer!
Variations for Cherry Pie Bars Dessert
- Berry Medley: Swap the cherry pie filling for a mix of blueberries and raspberries for a delightful twist.
- Nutty Crunch: Add chopped pecans or walnuts to the topping for some added crunch and flavor.
- Gluten-Free Option: Substitute all-purpose flour with a gluten-free blend, and you’re good to go!
- Coconut Delight: Mix in shredded coconut to the crust for a tropical flair.
- Chocolate Drizzle: After baking, drizzle melted chocolate over the cooled bars for an indulgent touch.
Serving Suggestions for Cherry Pie Bars Dessert
- Whipped Cream: A dollop of freshly whipped cream on top adds a luxurious touch.
- A La Mode: Serve warm with a scoop of vanilla ice cream for an unforgettable treat.
- Coffee Pairing: Enjoy these bars with a hot cup of coffee or tea.
- Garnish: Sprinkle with powdered sugar or add a cherry on top for a festive look.
FAQs about Cherry Pie Bars Dessert
Can I use fresh cherries instead of canned filling? Absolutely! Fresh cherries will give your bars an intense flavor. Just pit and slice them, adding a bit of sugar to enhance their sweetness.
How do I store leftover Cherry Pie Bars Dessert? Store them in an airtight container at room temperature for up to four days. These bars are best enjoyed fresh, but they hold up surprisingly well!
Can I freeze these Cherry Pie Bars? Yes, you can! Make sure they’re completely cooled before wrapping them tightly in plastic wrap and aluminum foil. They can be frozen for up to three months.
What can I serve with Cherry Pie Bars Dessert? They pair wonderfully with vanilla ice cream or a dollop of whipped cream. A cup of coffee complements the sweet flavors perfectly too!
Are there any gluten-free options for this recipe? Definitely! You can substitute the all-purpose flour with a gluten-free flour blend to make these bars gluten-free without losing flavor.
Final Thoughts
Making Cherry Pie Bars Dessert is more than just baking; it’s about creating moments of joy with the ones you love. The sweet aroma wafting from your oven creates an inviting atmosphere, drawing family and friends together. These bars are a delightful treat that combines nostalgia with simplicity, perfect for any occasion. Whether it’s a cozy family dinner or a festive gathering, these bars will surely bring smiles to everyone’s faces. So grab that pan and enjoy the delightful satisfaction of baking something special that warms hearts and fills bellies!
Print
Cherry Pie Bars Dessert
- Total Time: 55-60 minutes
- Yield: 12 servings 1x
- Diet: Vegetarian
Description
Cherry Pie Bars are a delicious dessert that combines a buttery crust with a sweet cherry filling, perfect for any occasion.
Ingredients
- Crust & Topping
- 1 cup unsalted butter, softened
- 1 3/4 cups granulated sugar
- 4 large eggs
- 1 teaspoon vanilla extract
- 1/4 teaspoon almond extract
- 3 cups all-purpose flour
- 1 teaspoon salt
- Filling
- 1 can cherry pie filling (21 ounces)
Instructions
- Set oven to 350°F (175°C) and lightly grease a 9×13-inch baking pan.
- In a large mixing bowl, cream the softened butter with granulated sugar until light and fluffy. Incorporate the eggs one at a time, mixing thoroughly after each addition, then blend in the vanilla and almond extracts.
- Gradually add the flour and salt, mixing until a uniform dough forms.
- Press two-thirds of the dough evenly into the bottom of the prepared pan to form a base.
- Spread the cherry pie filling evenly over the crust.
- Drop spoonfuls of the remaining dough over the fruit layer.
- Transfer the pan to the oven and bake for 35 to 40 minutes until the top is golden brown.
- Remove from oven and allow to cool completely before slicing into bars.
Notes
- For a more intense cherry flavor, consider adding fresh cherries.
- Feel free to add a drizzle of frosting over the bars for extra sweetness.
- Store in an airtight container at room temperature for up to 4 days.
- Prep Time: 15 minutes
- Cook Time: 35-40 minutes
- Category: Dessert
- Method: Baking
- Cuisine: American
Nutrition
- Serving Size: 1 bar
- Calories: 250
- Sugar: 20g
- Sodium: 150mg
- Fat: 10g
- Saturated Fat: 6g
- Unsaturated Fat: 4g
- Trans Fat: 0g
- Carbohydrates: 36g
- Fiber: 1g
- Protein: 3g
- Cholesterol: 70mg
Keywords: Cherry Pie Bars, Cherry Dessert, Easy Dessert Recipe, Fruit Bars