
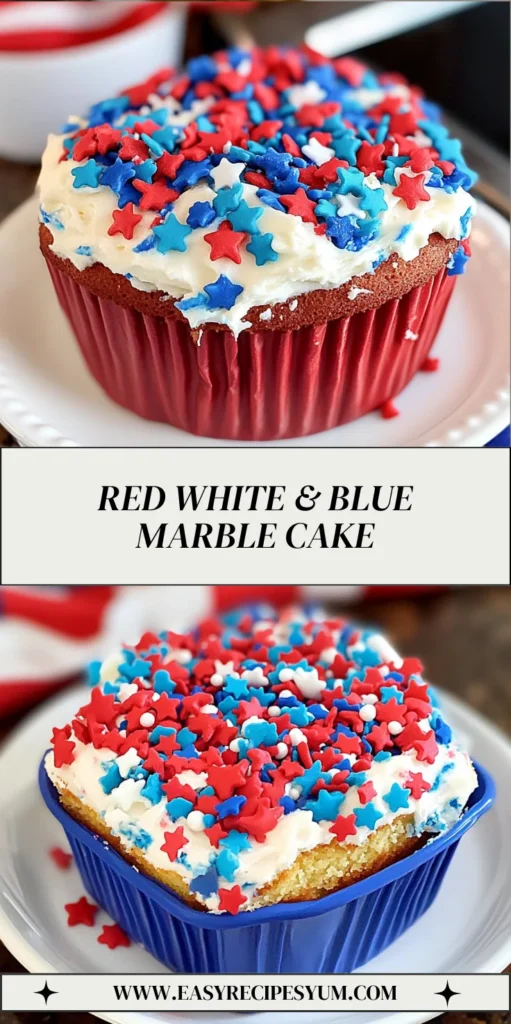
Introduction to Red White & Blue Marble Cake
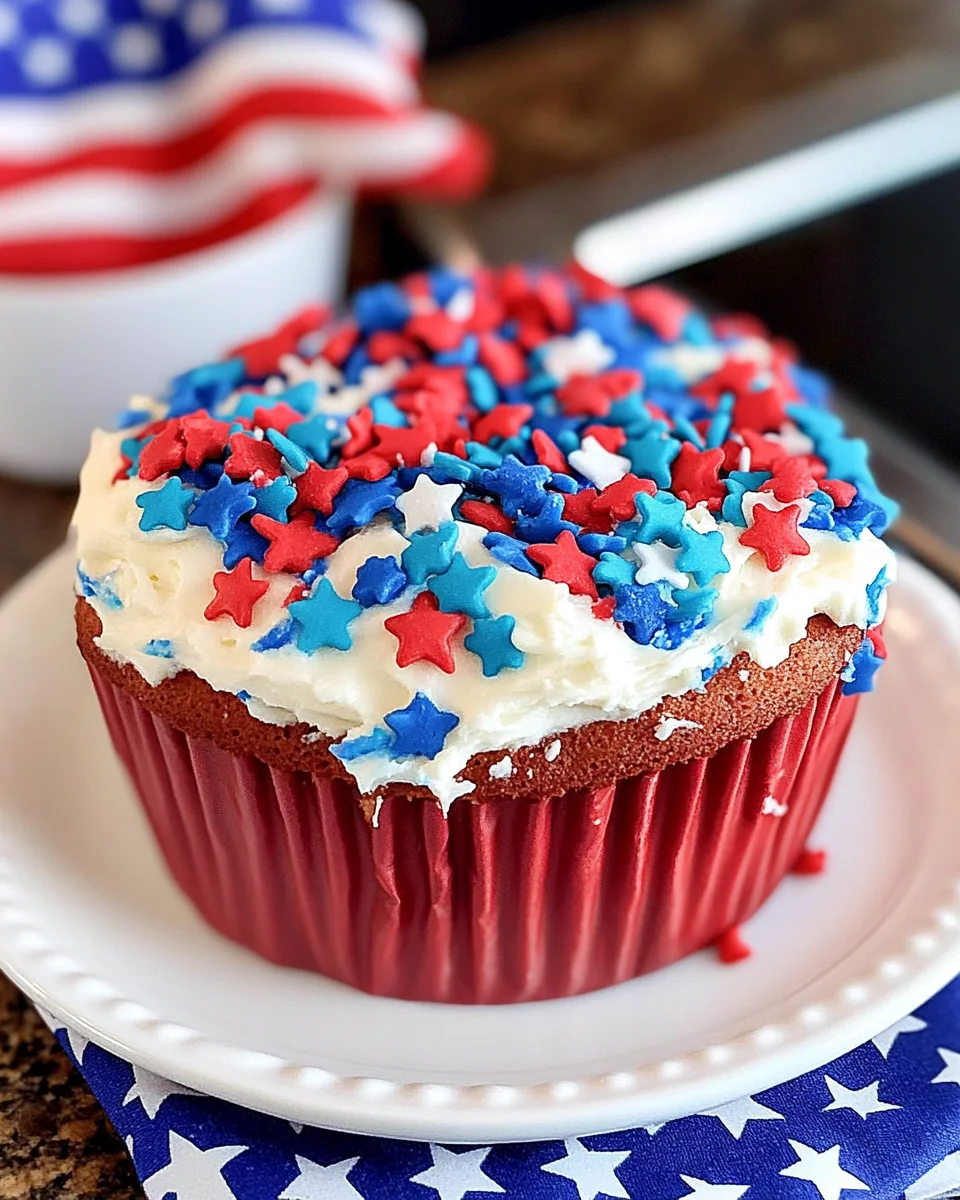
As a busy mom, I know how important it is to have a go-to dessert that’s both easy and impressive. That’s where my Red White & Blue Marble Cake comes in! This festive treat is perfect for celebrations, whether it’s a backyard barbecue or a family gathering. With its vibrant colors and delightful marble effect, it’s sure to catch everyone’s eye. Plus, it’s a quick solution for those hectic days when you want to whip up something special without spending hours in the kitchen. Trust me, your loved ones will adore this cake!
Why You’ll Love This Red White & Blue Marble Cake
This Red White & Blue Marble Cake is a delightful blend of simplicity and flavor. It comes together in just under an hour, making it perfect for busy days. The vibrant colors not only make it visually stunning but also add a fun twist to any occasion. Plus, the moist, fluffy texture paired with creamy vanilla frosting is simply irresistible. It’s a cake that brings smiles and sweet memories to the table!

Ingredients for Red White & Blue Marble Cake
Gathering the right ingredients is the first step to creating your stunning Red White & Blue Marble Cake. Here’s what you’ll need:
- White cake mix: This is the base of your cake, providing a light and fluffy texture. You can use any brand you prefer.
- Water: Essential for mixing with the cake mix, it helps to create the perfect batter consistency.
- Vegetable oil: This adds moisture to the cake, ensuring it stays soft and delicious.
- Large eggs: Eggs act as a binding agent, helping to hold everything together while adding richness.
- Red food coloring: This is what gives your cake its festive hue. Feel free to adjust the amount for a more vibrant color.
- Blue food coloring: Just like the red, this will add a pop of color to your cake. A little goes a long way!
- Vanilla frosting: The creamy topping that brings everything together. You can use store-bought or make your own if you’re feeling adventurous.
- Optional sprinkles: Red, white, and blue sprinkles can add a fun finishing touch to your cake, making it even more festive.
For exact measurements, check the bottom of the article where you can find everything listed for easy printing. Happy baking!
How to Make Red White & Blue Marble Cake
Now that you have your ingredients ready, let’s dive into the fun part: making your Red White & Blue Marble Cake! Follow these simple steps, and you’ll have a stunning dessert that’s sure to impress.
Step 1: Preheat and Prepare
First things first, preheat your oven to 350°F (175°C). This ensures your cake bakes evenly. While that’s heating up, grab your 9×13-inch baking dish or two 8-inch round pans. Grease and flour them well. This step is crucial! It prevents your cake from sticking, making it easier to remove once baked.
Step 2: Mix the Batter
In a large bowl, combine the white cake mix, water, vegetable oil, and eggs. Mix everything together until it’s smooth and well-blended. I like to use a hand mixer for this, but a whisk works just fine too. The goal is to create a batter that’s lump-free and creamy.
Step 3: Divide and Color
Next, divide your batter evenly into three bowls. Tint one bowl with red food coloring, one with blue, and leave the last one plain. This is where the magic happens! Don’t be shy with the food coloring; a vibrant hue makes your cake pop. Just remember, you can always add more if you want a bolder color.
Step 4: Create the Marble Effect
Now comes the fun part! Drop spoonfuls of each colored batter randomly into your prepared pan. Once you’ve added all the colors, take a knife or skewer and gently swirl the batters together. Be careful not to overmix! You want to see those beautiful swirls, not a solid color.
Step 5: Bake the Cake
Pop your cake into the preheated oven and bake for 28–32 minutes. To check for doneness, insert a toothpick into the center. If it comes out clean, your cake is ready! If not, give it a few more minutes and check again.
Step 6: Cool and Frost
Once baked, remove the cake from the oven and let it cool completely in the pan. This is important! If you frost it while it’s warm, the frosting will melt and slide off. Patience is key here, my friends!
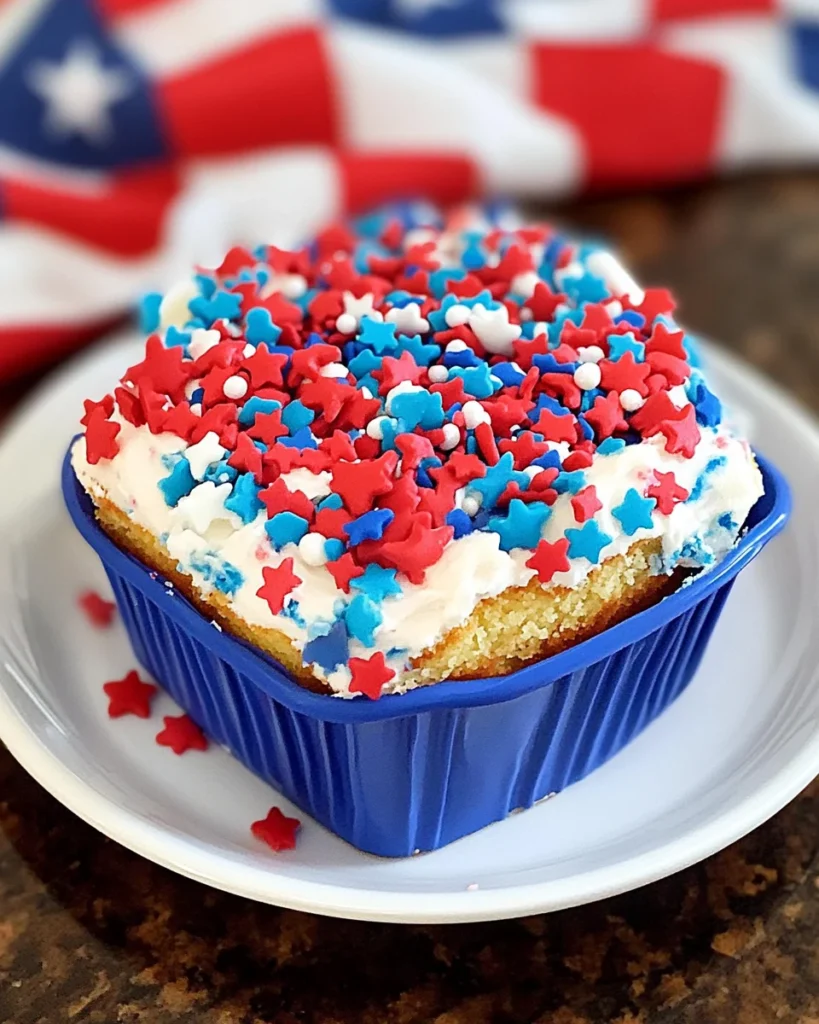
Step 7: Decorate and Serve
After your cake has cooled, it’s time to frost it with that delicious vanilla frosting. Spread it evenly over the top, and if you’re feeling festive, sprinkle on some red, white, and blue sprinkles. Slice it up, serve, and watch the smiles light up the room!
Tips for Success
- Always preheat your oven for even baking.
- Use room temperature eggs for a smoother batter.
- Don’t overmix the batter; it’s key for that beautiful marble effect.
- For a fun twist, try adding a layer of fruit preserves between the cake and frosting.
- Let the cake cool completely before frosting to avoid melting.
Equipment Needed
- Baking dish: A 9×13-inch pan or two 8-inch round pans work well. You can also use a silicone mold for easy release.
- Mixing bowls: Have at least three bowls for dividing the batter. Any size will do!
- Whisk or hand mixer: Use either for mixing the batter smoothly.
- Knife or skewer: Essential for creating that beautiful marble effect.
- Cooling rack: Helps cool the cake evenly, but a plate works too!
Variations
- Gluten-Free Option: Substitute the white cake mix with a gluten-free cake mix to accommodate dietary needs.
- Flavor Twist: Add a teaspoon of almond extract to the batter for a delightful nutty flavor.
- Fruit Infusion: Incorporate fresh berries like raspberries or blueberries into the batter for added flavor and texture.
- Chocolate Marble: Use chocolate cake mix instead of white for a rich chocolatey version of your Red White & Blue Marble Cake.
- Vegan Version: Replace eggs with flaxseed meal and use a plant-based cake mix to create a vegan-friendly cake.
Serving Suggestions
- Pair your Red White & Blue Marble Cake with a scoop of vanilla ice cream for a delightful contrast.
- Serve with fresh berries on the side for a burst of flavor and color.
- For drinks, consider lemonade or iced tea to complement the cake’s sweetness.
- Present the cake on a festive platter, garnished with extra sprinkles for a cheerful touch.
FAQs about Red White & Blue Marble Cake
Can I make this cake ahead of time?
Absolutely! You can bake the Red White & Blue Marble Cake a day in advance. Just store it in an airtight container at room temperature. Frost it on the day you plan to serve for the best results.
What can I use instead of food coloring?
If you prefer a natural option, you can use beet juice for red and blueberry juice for blue. Just keep in mind that the colors may be less vibrant than traditional food coloring.
How do I store leftovers?
Store any leftover cake in an airtight container in the fridge. It should stay fresh for about 3-4 days. Just remember to let it come to room temperature before serving for the best flavor!
Can I freeze the cake?
Yes, you can freeze the Red White & Blue Marble Cake. Wrap it tightly in plastic wrap and then in aluminum foil. It can be frozen for up to 3 months. Just thaw it in the fridge overnight before serving.
What’s the best way to decorate this cake?
For a festive touch, use red, white, and blue sprinkles or fresh berries. You can also pipe some extra frosting on top for a beautiful finish. Get creative and have fun with it!
Final Thoughts
Creating this Red White & Blue Marble Cake is more than just baking; it’s about bringing joy to your family and friends. The vibrant colors and delightful flavors make it a centerpiece for any celebration. I love how this cake can turn an ordinary day into something special with just a few simple steps. Whether it’s a holiday gathering or a casual get-together, this cake is sure to spark smiles and sweet memories. So, roll up your sleeves, embrace the fun, and let this cake be a delicious part of your culinary adventures!
Print
Red White & Blue Marble Cake: A Festive Treat You’ll Love!
- Total Time: 47 minutes
- Yield: 12 servings 1x
- Diet: Vegetarian
Description
A festive and colorful Red White & Blue Marble Cake perfect for celebrations.
Ingredients
- 1 box white cake mix (15.25 oz)
- 1 cup water
- 1/3 cup vegetable oil
- 3 large eggs
- Red food coloring
- Blue food coloring
- 1 tub (16 oz) vanilla frosting
- Optional: red, white, and blue sprinkles for decoration
Instructions
- Preheat oven to 350°F (175°C). Grease and flour a 9×13-inch baking dish or two 8-inch round pans.
- In a large bowl, prepare the cake mix according to package instructions by combining cake mix, water, oil, and eggs. Mix until smooth.
- Divide the batter evenly into three bowls. Tint one bowl red, one blue, and leave one plain.
- Drop spoonfuls of each colored batter randomly into the prepared pan.
- Use a knife or skewer to gently swirl the colors together, creating a marble effect. Do not overmix.
- Bake for 28–32 minutes, or until a toothpick inserted in the center comes out clean.
- Let the cake cool completely before frosting with vanilla frosting.
- Decorate with red, white, and blue sprinkles if desired. Slice and serve.
Notes
- Ensure not to overmix the batter to maintain the marble effect.
- For a more vibrant color, add more food coloring as desired.
- Prep Time: 15 minutes
- Cook Time: 32 minutes
- Category: Dessert
- Method: Baking
- Cuisine: American
Nutrition
- Serving Size: 1 slice
- Calories: 250
- Sugar: 20g
- Sodium: 200mg
- Fat: 10g
- Saturated Fat: 1.5g
- Unsaturated Fat: 8.5g
- Trans Fat: 0g
- Carbohydrates: 36g
- Fiber: 0g
- Protein: 3g
- Cholesterol: 30mg
Keywords: Red White & Blue Marble Cake, festive cake, marble cake, dessert recipe