
Introduction to Fruity Pebbles Cheesecake Tacos
Hey there, fellow dessert lovers! If you’re looking for a fun and exciting treat that combines nostalgia with a modern twist, look no further than Fruity Pebbles Cheesecake Tacos. These vibrant tacos are not only visually appealing but also incredibly easy to whip up. Perfect for busy moms like us, they offer a quick solution to satisfy those sweet cravings. Whether for a family gathering, a special celebration, or simply a delightful surprise after dinner, these tasty tacos are sure to impress your loved ones and create memorable moments around the table.
Why You’ll Love This Fruity Pebbles Cheesecake Tacos
Let me tell you, these Fruity Pebbles Cheesecake Tacos are a game changer! They’re swift to prepare, making them perfect for our hectic lives. Plus, who can resist the delightful crunch of cereal combined with rich cheesecake? They’re not only a feast for the eyes but also a sweet embrace for your taste buds. Treat yourself and your family to a dessert that brings out the kid in everyone!
Ingredients for Fruity Pebbles Cheesecake Tacos
Let’s dive into the colorful world of Fruity Pebbles Cheesecake Tacos! Here’s what you’ll need to create these delightful treats:
- Colorful fruity cereal: The star of the show, adding a burst of flavor and fun to each bite.
- Unsalted butter: This melted goodness helps bind the cereal together, creating a sturdy yet delicious taco shell.
- Cream cheese: Softened cream cheese is essential for that rich and creamy filling that melts in your mouth.
- Powdered sugar: This sweetening agent adds the perfect touch of sweetness to the cheesecake mixture.
- Pure vanilla extract: Just a splash of this aromatic extract elevates the flavor of your cheesecake filling.
- Whipped cream: Light, fluffy goodness that brings a delightful texture and enhances the creaminess of the cheesecake.
- Additional fruity cereal for garnish: A sprinkle on top not only adds a lovely crunch but also brightens up the presentation.
If you’re feeling adventurous, you can swap out the fruity cereal for your favorite cereal or even a gluten-free option! Remember, the ingredient quantities are detailed at the bottom of this article, so you can easily print them out before you get started. Let’s get ready to create some fun in the kitchen!
How to Make Fruity Pebbles Cheesecake Tacos
Are you ready to embark on a delicious adventure? Making Fruity Pebbles Cheesecake Tacos is a breeze. Each step brings us closer to that creamy, colorful delight. So, let’s roll up our sleeves and dive into this tasty endeavor!
Step 1: Prepare the Cereal Mixture
First things first, you need to combine your colorful fruity cereal with melted butter. In a large bowl, mix the two until every morsel is coated, but here’s a tip: ensure the butter is warm, not hot! This keeps the cheerful colors of the cereal intact. Getting this right means those vibrant hues will shine through in your taco shells. Trust me; it’s all in the details!
Step 2: Shape the Taco Shells
Now, let’s shape those tacos! Grab your taco molds or the sections of a curved muffin tin. Press the cereal mixture firmly into the molds, forming a shell about a quarter inch thick. Here, the texture is important; this will ensure a solid shell that holds up to the creamy filling later. Once you’ve pressed everything in, pop these beauties into the fridge for at least 30 minutes. This helps them firm up.
Step 3: Create the Cheesecake Filling
Moving on to the filling—this is where the magic happens! In a bowl, whip your softened cream cheese with an electric mixer for about two minutes until it’s fluffy and smooth. Gradually add the powdered sugar and vanilla extract, mixing continuously. This method ensures a silky consistency, perfect for our tacos. Believe me, this soft and creamy base will entice everyone who gets a taste!
Step 4: Fold in Whipped Cream
Next comes the whipped cream, and here’s where it gets fluffy! Use a rubber spatula to gently fold the whipped cream into the cream cheese mixture. Remember, the key is to fold from the bottom up, preserving that light airiness. This creates a dreamy filling that will have everyone raving about your dessert. Take your time with this step; it’s worth every moment!
Step 5: Fill the Taco Shells
With our filling whipped up, it’s time to fill our chilled taco shells! Use either a spoon or a piping bag to generously add the cheesecake mixture into the shells. I like to fill them until they overflow slightly for that irresistible look. Trust me, the presentation will catch every eye at the table. Plus, who can say no to extra cheesecake?
Step 6: Garnish and Serve
Finally, let’s make these tacos pop! Sprinkle additional fruity cereal on top of each filled taco, pressing gently to help it stick. This adds a delightful crunch and a vibrant splash of color. For the freshest taste, serve them right away. If needed, you can refrigerate them for up to two hours, but there’s just something special about enjoying them fresh!
Tips for Success
- Always let your butter cool slightly before mixing with cereal to keep the colors vibrant.
- Press the cereal mixture firmly into molds for a sturdy shell that won’t fall apart.
- Use room-temperature cream cheese for a smooth and creamy filling; it blends better.
- For extra richness, try adding a splash of lemon juice to your filling.
- Have fun with toppings—consider sprinkles or chocolate chips for added flair!
Equipment Needed
- Taco molds: Use taco-shaped molds for the best results, but a curved muffin tin works too!
- Large mixing bowl: Essential for combining your cereal and butter mixture.
- Electric mixer: A hand mixer will save you effort when whipping the cream cheese.
- Rubber spatula: Perfect for folding in whipped cream without losing airiness.
- Spoon or piping bag: Use either for filling your taco shells with that creamy goodness.
Variations of Fruity Pebbles Cheesecake Tacos
- Try swapping Fruity Pebbles for Cocoa Pebbles for a chocolatey twist.
- Use dairy-free cream cheese and whipped topping for a vegan-friendly option.
- Add fresh fruits like strawberries or bananas into the filling for a fruity burst.
- Switch up the spices by adding a dash of cinnamon or nutmeg to the cheesecake filling.
- Make mini tacos using a smaller mold for bite-sized treats that are perfect for parties!
Serving Suggestions for Fruity Pebbles Cheesecake Tacos
- Pair with a scoop of vanilla ice cream for added creaminess and indulgence.
- Serve with fresh berries on the side for a refreshing contrast in flavor.
- Consider pouring a drizzle of chocolate sauce on top for an extra sweet touch.
- Garnish with mint leaves for a pop of color and a hint of freshness.
- Present them on a colorful platter to enhance their fun, vibrant appeal.
FAQs about Fruity Pebbles Cheesecake Tacos
Got questions about these delightful Fruity Pebbles Cheesecake Tacos? Let’s address some of the most common queries!
Can I make these tacos ahead of time? Absolutely! You can prepare the taco shells and filling beforehand. Just assemble them right before serving for the best crunch.
What if I can’t find Fruity Pebbles? No worries! Feel free to swap them for any colorful cereal you love. Just be mindful of their texture and sweetness!
How long can I store these tacos? Fruity Pebbles Cheesecake Tacos are best enjoyed fresh, but they can be refrigerated for up to two hours. After that, the shells may lose their crunch.
Is this recipe suitable for kids? Definitely! Kids will adore the fun presentation and sweet flavors. Just keep an eye on portion sizes; they can be quite tempting!
Final Thoughts
Making Fruity Pebbles Cheesecake Tacos is more than just creating a dessert; it’s about gathering loved ones and sharing joyous moments. The vibrant colors and crunch of the cereal combined with the creamy cheesecake filling create an experience that delights both kids and adults alike. As you bite into these treats, you’re transported back to carefree days of childhood. The smiles and laughter they bring are simply priceless. So, roll up your sleeves, embark on this colorful adventure, and let these delicious tacos spread happiness in your kitchen!
Print
Fruity Pebbles Cheesecake Tacos
- Total Time: 1 hour
- Yield: 8 tacos 1x
- Diet: Vegetarian
Description
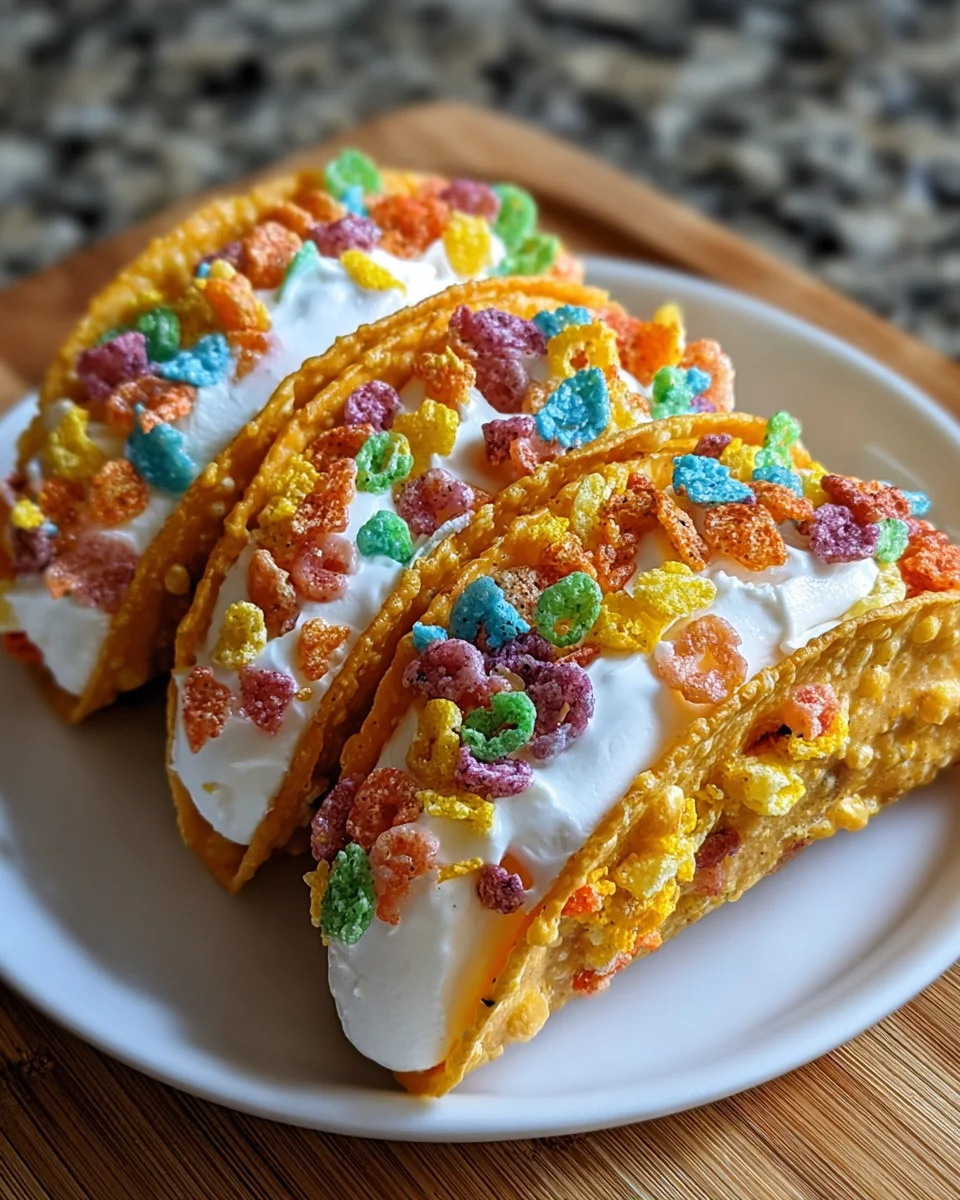
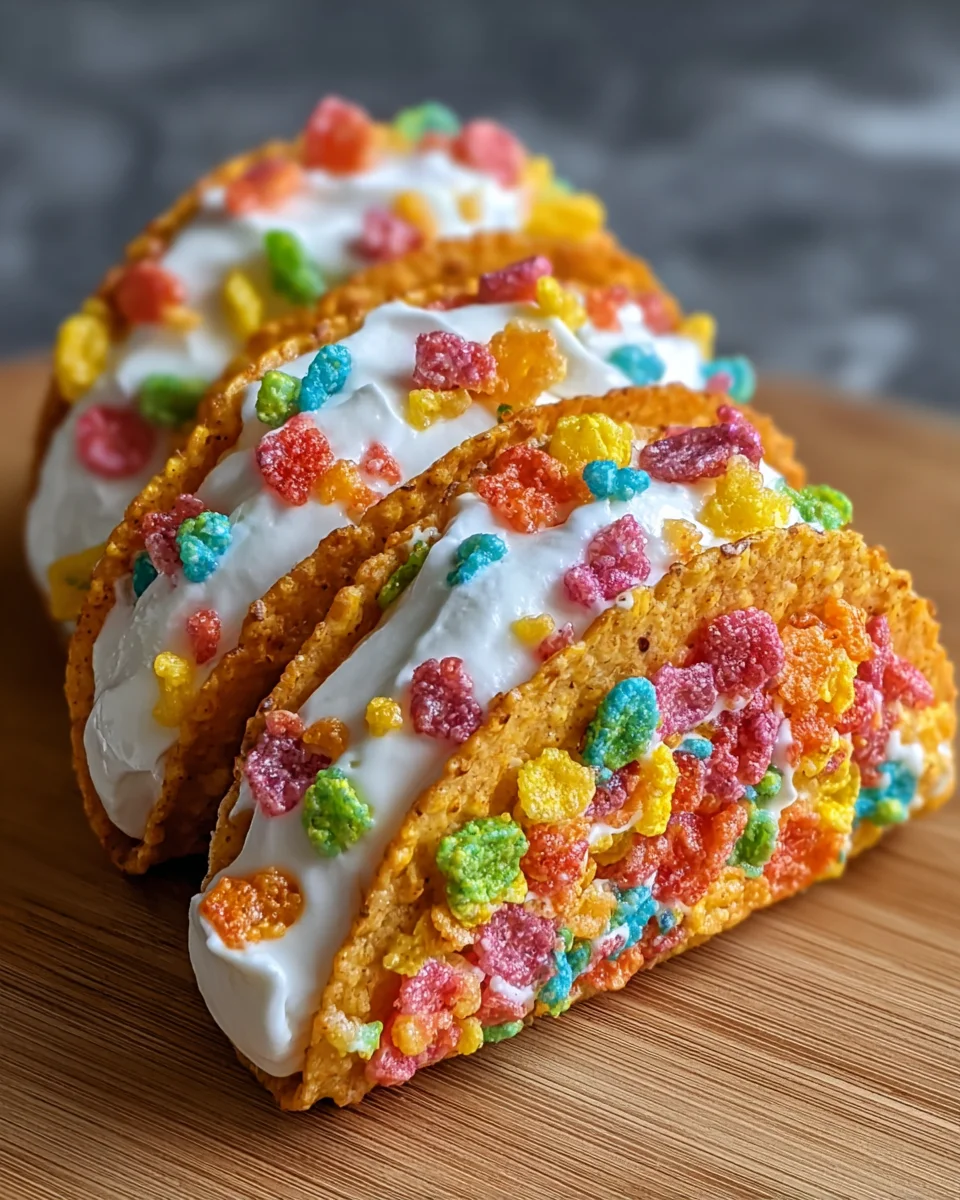
Fruity Pebbles Cheesecake Tacos are a delightful dessert combining colorful cereal shells filled with a creamy cheesecake filling, garnished with extra fruity cereal for added crunch.
Ingredients
- 3 cups colorful fruity cereal
- 0.5 cup unsalted butter, melted
- 8 oz cream cheese, softened
- 0.5 cup powdered sugar, sifted
- 1 tsp pure vanilla extract
- 1 cup whipped cream
- Additional fruity cereal for garnish
Instructions
- Combine fruity cereal with melted butter in a large bowl until every piece is thoroughly coated, ensuring the butter is warm but not hot to preserve cereal colors.
- Press the coated mixture firmly into taco-shaped molds or curved muffin tin sections, creating shells about 1/4 inch thick. Refrigerate for at least 30 minutes until firm.
- Beat softened cream cheese with an electric mixer for 2 minutes until smooth and fluffy. Gradually add powdered sugar and vanilla extract, scraping the bowl sides frequently for a silky texture.
- Gently fold whipped cream into the cream cheese mixture using a rubber spatula, folding lightly from bottom up to maintain airiness without deflating the mixture.
- Fill each chilled shell generously with the cheesecake filling using a spoon or piping bag, slightly overflowing for a generous presentation.
- Sprinkle additional fruity cereal atop each taco, pressing gently to adhere. Serve immediately for maximum crunch or refrigerate up to 2 hours before serving.
Notes
- Ensure the butter is not too hot to avoid melting the cereal colors.
- These tacos are best served fresh but can be refrigerated for short periods.
- Feel free to experiment with different cereal types for varied flavors.
- Prep Time: 30 minutes
- Cook Time: 10 minutes
- Category: Dessert
- Method: No-Bake
- Cuisine: American
Nutrition
- Serving Size: 1 taco
- Calories: 250
- Sugar: 15g
- Sodium: 150mg
- Fat: 14g
- Saturated Fat: 8g
- Unsaturated Fat: 4g
- Trans Fat: 0g
- Carbohydrates: 29g
- Fiber: 1g
- Protein: 3g
- Cholesterol: 30mg
Keywords: Fruity Pebbles, Cheesecake, Tacos, Dessert, No-Bake