
Introduction to Raspberry Ripple Ice Cream
There’s something magical about making your own ice cream, and this Raspberry Ripple Ice Cream is a true delight! As a busy mom myself, I know how precious time is, and this is the perfect quick solution for a hot summer day, or just when you need a sweet treat.
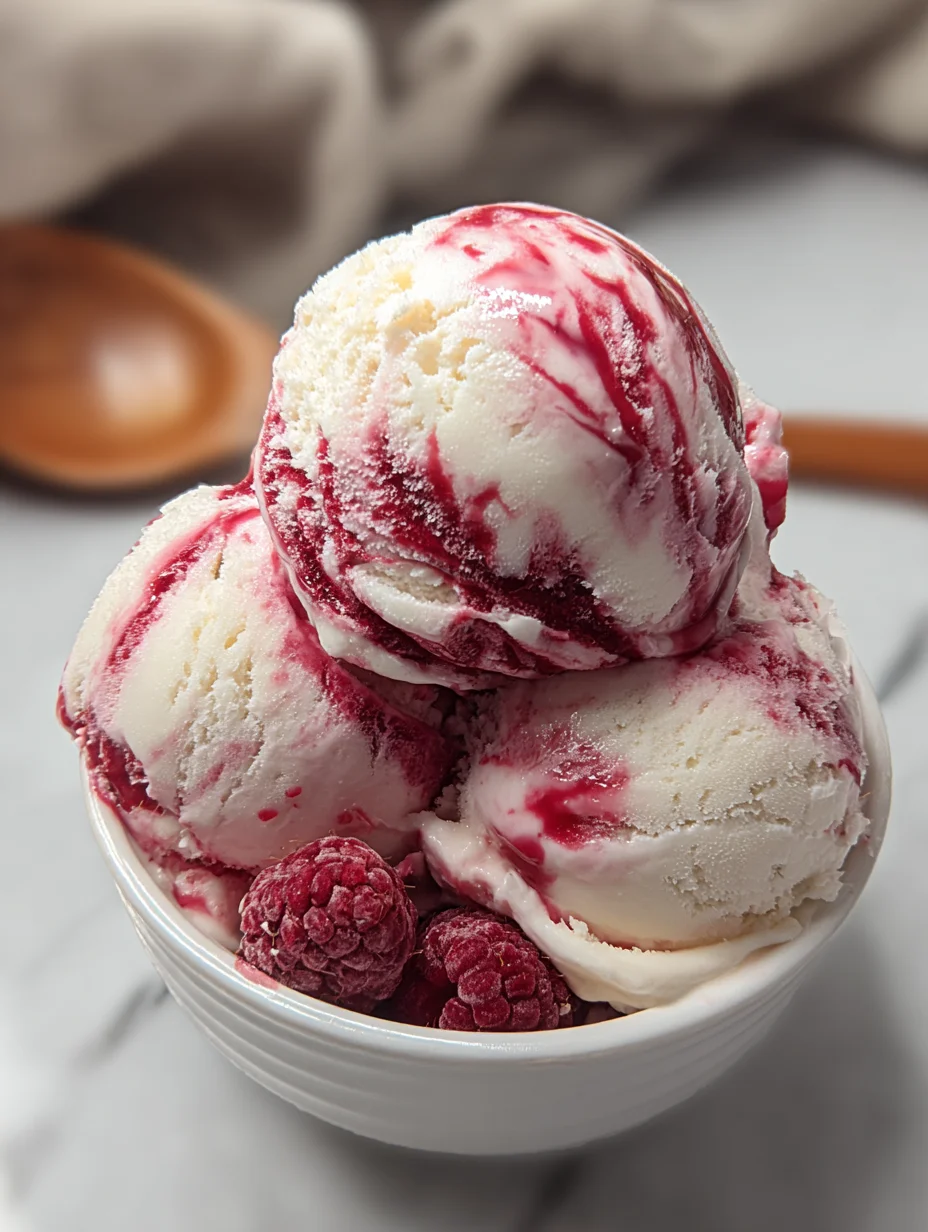
With swirls of luscious raspberry jam and a creamy texture, it’s sure to impress your loved ones. This recipe is so simple yet utterly rewarding. Trust me; it will become a favorite in your household. Let’s dive in and create this irresistible dessert together!
Why You’ll Love This Raspberry Ripple Ice Cream
This Raspberry Ripple Ice Cream is a recipe packed with goodness! It’s incredibly easy to whip up, making it a stress-free dessert choice for busy days. The vibrant raspberry swirls offer a burst of fruit flavor that will tickle your taste buds.
Plus, with no cooking involved, it’s quick! You’ll be enjoying this delightful treat in no time, and that’s a win for everyone!
Ingredients for Raspberry Ripple Ice Cream
Gathering the right ingredients is a breeze for this Raspberry Ripple Ice Cream. Each component plays a delicious role in the final flavor. Here’s what you’ll need:
- Heavy Cream: This creamy base gives the ice cream its rich texture and indulgent mouthfeel.
- Sweetened Condensed Milk: This adds sweetness and helps create that beautifully smooth consistency. It’s a must-have in homemade ice cream!
- Raspberry Jam: This is the star of the show! It offers vibrant raspberry flavor and those gorgeous swirls. Opt for a high-quality jam for the best results.
Feel free to mix things up! For a twist, you can use other berry jams or even make a mixed berry ripple. If you’re looking to cut back on sugar, consider using a sugar-free jam or a fruit puree instead.
For exact quantities and a printable version of the recipe, just scroll down to the bottom of this article!
How to Make Raspberry Ripple Ice Cream
Making Raspberry Ripple Ice Cream at home is a delightful process! You only need a few simple steps to create a creamy, dreamy dessert that your family will love. Let’s roll up our sleeves and dive right in!
Step 1: Whip the Heavy Cream
Start by pouring the heavy cream into a mixing bowl. Use a hand mixer or stand mixer to whip it until stiff peaks form. This means the cream should hold its shape and not flop over when you lift the whisk.
The key here is to make sure your cream is well chilled. This helps achieve the best volume and texture. Imagine diving into a bowl of fluffy clouds as you whip!
Step 2: Combine with Sweetened Condensed Milk
Now, gently fold in the sweetened condensed milk into the whipped cream. Use a spatula for this task. A slow and gentle folding is crucial to maintain that light and airy texture you just created.
Think of it like inviting a friend to a dance—you don’t want to shove them in too quickly! Folding carefully allows the flavors to blend harmoniously.
Step 3: Create the First Layer
Time to build the structure! Pour half of your fluffy cream mixture into a loaf pan. Smooth the layer evenly across the bottom with your spatula.
This first layer is like the base of a beautiful cake—it sets the stage for the deliciousness to come!
Step 4: Swirl in the Raspberry Jam
Here comes the fun part! Take your raspberry jam and dollop generous spoonfuls over the first layer of cream. Use a knife or a skewer to swirl the jam into the mixture.
Picture it like painting a masterpiece; every swirl adds a splash of color and flavor! You want those tantalizing ribbons of jam throughout the ice cream.
Step 5: Freeze and Wait
Finally, pour the remaining cream mixture on top. Add more swirls of raspberry jam on the surface. Cover the loaf pan with a lid or plastic wrap and place it in the freezer.
Now, it’s time for the hardest part—waiting! Freeze for at least 6 hours. But believe me, the wait is worth it. You’ll be rewarded with the creamiest, most irresistible Raspberry Ripple Ice Cream.
Tips for Success
- Make sure your heavy cream is super cold for the fluffiest results.
- For a smoother consistency, opt for high-quality raspberry jam.
- Use a rubber spatula to fold gently and maintain that airy texture.
- To make serving easier, let the ice cream sit at room temperature for a few minutes before scooping.
- Experiment with different fruit jams for unique flavor twists.
Equipment Needed
- Mixing Bowl: A large bowl for whipping cream—any bowl will do, but a glass or stainless steel bowl is ideal for chilling.
- Hand Mixer or Stand Mixer: For whipping the cream; if you don’t have one, a whisk works too, but it’ll take more elbow grease!
- Spatula: Perfect for folding ingredients together; a silicone spatula is great for scraping every bit.
- Loaf Pan: This is your ice cream mold; a glass dish can also work if you don’t have one.
Variations of Raspberry Ripple Ice Cream
- Berry Medley: Swap the raspberry jam for a mix of strawberry, blueberry, and blackberry jams for a berry explosion.
- Vegan Delight: Use coconut cream and a dairy-free condensed milk alternative to create a creamy vegan version.
- Chocolate Ripple: Add a swirl of chocolate fudge instead of jam for a rich and decadent treat that chocolate lovers will adore.
- Nutty Additions: Fold in crushed pistachios or almonds along with the jam for an extra crunch.
- Dairy-Free Option: Try using almond milk whipped to soft peaks combined with a dairy-free condensed milk for a lighter, dairy-free ice cream.
Serving Suggestions
- Serve alongside fresh berries for a burst of flavor and color.
- Pair with a hot slice of chocolate cake for a delightful contrast.
- Garnish with mint leaves for a fresh touch.
- Drizzle with melted chocolate for added indulgence.
- Offer a scoop in a waffle cone for a classic ice cream experience.
FAQs about Raspberry Ripple Ice Cream
Can I use frozen raspberries instead of raspberry jam?
Absolutely! You can use frozen raspberries, but you’ll want to cook them down to make a sauce first. This will bring out their natural sweetness and allow for that fabulous ripple effect.
How long can I store Raspberry Ripple Ice Cream?
Your Raspberry Ripple Ice Cream can last about 2-3 weeks in the freezer. Just make sure it’s tightly covered to prevent freezer burn and to keep that luscious taste intact!
Can I add other flavors to the ice cream?
Yes, definitely! You can mix in flavors like vanilla extract or even a splash of lemon juice for a zesty twist. Just be cautious with the quantity, as you want the raspberry flavor to shine.
Is this recipe suitable for kids?
This Raspberry Ripple Ice Cream is perfect for kids! The no-churn method means it’s easy for little hands to help out, and it’s a tasty way to get them involved in the kitchen.
What can I do if my ice cream is too hard to scoop?
If your Raspberry Ripple Ice Cream is too hard, let it sit at room temperature for about 5–10 minutes before trying to scoop. This will soften it up just enough for easy serving.
Final Thoughts
Creating this Raspberry Ripple Ice Cream is more than just making a dessert; it’s about crafting sweet memories with family and friends. Every swirl of raspberry jam tells a story that brightens up any occasion. I love how simple ingredients can combine to create such rich flavors, elevating a regular day into something special.
So, whether it’s a summer gathering or a cozy evening at home, this delightful treat will surely bring joy. Trust me, once you scoop into this creamy goodness, you’ll want to share it with everyone you love. Happy ice cream making!
Print
Raspberry Ripple Ice Cream
- Total Time: 6 hours 15 minutes
- Yield: Serves 6-8 1x
- Diet: Vegetarian
Description
A simple and irresistible recipe for homemade Raspberry Ripple Ice Cream, featuring swirls of raspberry jam.
Ingredients
- 2 cups heavy cream
- 1 can (14 oz) sweetened condensed milk
- 1/2 cup raspberry jam
Instructions
- Whip heavy cream until stiff peaks form. Fold in condensed milk.
- Pour half the mixture into a loaf pan. Swirl in raspberry jam.
- Add the remaining cream mixture and more jam swirls.
- Freeze for 6 hours.
Notes
- Ensure the heavy cream is chilled for better whipping results.
- For a smoother texture, use a high-quality raspberry jam.
- Let the ice cream sit at room temperature for a few minutes before scooping.
- Prep Time: 15 minutes
- Cook Time: 0 minutes
- Category: Dessert
- Method: No-Churn
- Cuisine: American
Nutrition
- Serving Size: 1/2 cup
- Calories: 300
- Sugar: 30g
- Sodium: 50mg
- Fat: 20g
- Saturated Fat: 12g
- Unsaturated Fat: 5g
- Trans Fat: 0g
- Carbohydrates: 31g
- Fiber: 0g
- Protein: 3g
- Cholesterol: 70mg
Keywords: Raspberry Ripple Ice Cream, homemade ice cream, dessert recipes