
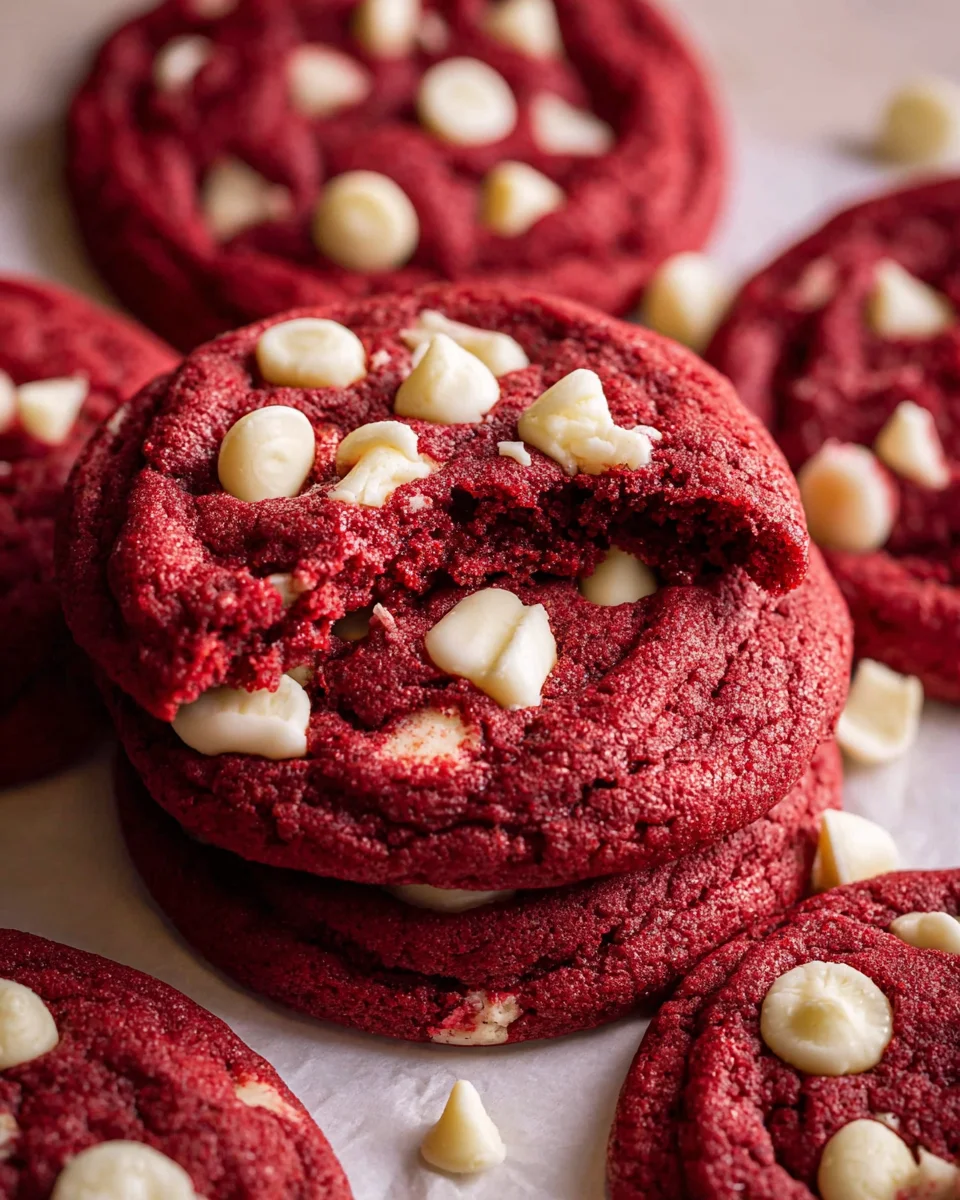
Introduction to Red Velvet Cookies
Life can be a whirlwind, especially for those of us balancing family, work, and the never-ending to-do list. That’s where these delightful Red Velvet Cookies come in, offering a quick yet extraordinary treat that’s sure to impress! With their rich flavor and stunning red hue, they’re perfect for a surprise snack or a special occasion. Plus, they’re so easy to whip up that even the busiest of days can’t stand in your way. Grab your apron, and let’s create some magic that will warm your heart and delight your taste buds!
Why You’ll Love This Red Velvet Cookies
These Red Velvet Cookies are a dream for any busy mom or professional! They’re not only quick to make but also decadent in taste. With just a handful of ingredients and minimal prep time, you’ll have a delicious treat ready in under thirty minutes. Plus, their vibrant color makes them visually appealing, turning an ordinary day into something special. Enjoy the delight on your loved ones’ faces when they take a bite!
Ingredients for Red Velvet Cookies
Gather the ingredients for your Red Velvet Cookies, and let’s get ready to create something magical! Each ingredient plays a crucial role in making these cookies delectable.
- All-purpose flour: This is the base of your cookies, providing structure and chewiness.
- Dutch process cocoa powder: It adds a rich chocolate flavor while keeping the cookies beautifully red.
- Baking soda and baking powder: These will give your cookies the perfect rise, ensuring a light texture.
- Salt: Just a pinch boosts the flavors and balances the sweetness.
- Salted butter: Softened butter creates a rich, creamy texture, making your cookies tender and flavorful.
- Light brown sugar: This sugar adds moisture and a lovely caramel flavor, enhancing the taste of your cookies.
- Granulated white sugar: Helps the cookies spread correctly while adding sweetness.
- Egg yolks: They provide richness and contribute to a chewy texture.
- Vanilla extract: A must-have for that warm, aromatic flavor that rounds out the taste!
- Red gel food coloring: This gives your cookies that signature red hue without altering the flavor significantly.
- Chopped white chocolate or white chocolate chips: These little bursts of sweetness elevate the cookies to a whole new level!
Feel free to get creative! You can swap the white chocolate for dark chocolate if that tickles your taste buds. For a gluten-free version, try using almond or coconut flour. If you’re looking to cut back on sugar, using a sugar substitute works wonderfully too. Remember, you can find exact measurements for all ingredients at the bottom of this article for your convenience!
How to Make Red Velvet Cookies
Step 1: Preheat and Prepare
Let’s kick things off by preheating your oven to 350 degrees Fahrenheit. This step is crucial for ensuring even baking. While the oven warms up, line two baking sheets with parchment paper. This not only prevents sticking but also makes cleanup a breeze. Trust me; because nothing’s more disheartening than cookies that cling stubbornly to the pan. So, get that oven going and set yourself up for success!
Step 2: Mix Dry Ingredients
In a small bowl, combine your all-purpose flour, cocoa powder, baking soda, baking powder, and salt. Whisk them together until all the ingredients are evenly mixed. This ensures that the leavening agents and cocoa powder are well distributed throughout the cookie dough. Getting this step right helps create a uniform texture as you mix everything later. You’ll thank yourself when you’re munching on those perfect cookies!
Step 3: Cream Butter and Sugars
In a large bowl, beat together the softened butter, light brown sugar, and granulated sugar using an electric mixer. Mix them for about two minutes. You want the mixture to become light and fluffy. Creaming the butter and sugars properly is key! It introduces air into the dough, ensuring that your cookies turn out soft and chewy, just the way we want them!
Step 4: Add Egg Yolks and Flavorings
Now it’s time to mix in the egg yolks, vanilla extract, and red gel food coloring. Add them to the fluffy butter and sugar mixture, and continue mixing on medium speed. Do this for about two more minutes. You’ll notice the mixture becoming even fluffier. The yolks enrich the dough, while the vanilla and food coloring bring excitement and that signature red hue that makes these Red Velvet Cookies irresistible!
Step 5: Combine Dry Ingredients
Gradually add the bowl of dry ingredients into your wet mixture. Mix until just combined. It’s important not to overmix, as this can create tough cookies. You want the combination to be smooth yet still thick enough to hold its shape. If you see any floury bits peeking through, that’s okay! We’ll be adding our favorite mix-ins soon, and it’ll all come together beautifully.
Step 6: Incorporate White Chocolate
Next, fold in the chopped white chocolate or white chocolate chips. Gently mix until they’re evenly incorporated into the cookie dough. These little bites of sweetness are the cherry on top, enhancing the cookies’ flavor and providing a delightful contrast to the surrounding cocoa. Just imagine how heavenly those bursts of white chocolate will be with each bite!
Step 7: Shape the Cookies
With your dough ready, it’s time to shape your cookies! Scoop out the dough and roll it into balls, roughly the size of a tablespoon. Place them on the prepared baking sheets, spacing them about two inches apart. They will spread a little while baking, so give them room to breathe. You want fluffy clouds of red velvet joy, after all!
Step 8: Bake the Cookies
Pop the baking sheets into your preheated oven. Bake the cookies for 10 to 12 minutes. If you prefer a slightly gooey center, lean towards the shorter baking time. For a crispier edge, go a minute or two longer. Just keep an eye on them, and don’t worry; the wonderful aroma will guide you along the way!
Step 9: Cool and Store
Once baked, remove the cookies from the oven and allow them to cool on the baking sheets for about 5 minutes. This helps set their delicate structure. Then, transfer them to a cooling rack for an additional five minutes. If you have leftovers (which I doubt!), store them in an airtight container for up to three days. Trust me; freshly baked cookies taste best the same day, but they’ll still be delightful for a bit longer!
Tips for Success
- Always use room temperature ingredients for better mixing and texture.
- Don’t skip the cooling step; it helps the cookies set perfectly!
- Keep an eye on the baking time; every oven is a little different.
- For extra flair, sprinkle some sea salt on top before baking!
- Feel free to experiment with add-ins like nuts or dried fruit!
Equipment Needed
- Baking sheets: If you don’t have these, a sturdy cookie sheet will work, too.
- Parchment paper: For easy cleanup, but you can also use silicone baking mats.
- Mixing bowls: A large bowl and a small one are essential for combining ingredients.
- Electric mixer: A hand mixer is perfect; a whisk will do in a pinch!
- Cookie scoop: If you lack this tool, a tablespoon will suffice for shaping.
Variations
- Make it gluten-free by substituting all-purpose flour with almond flour or a gluten-free baking mix.
- Add a twist by incorporating chocolate chips instead of white chocolate for a richer flavor.
- Experiment with different extracts like almond or mint for an exciting flavor profile.
- For a fun holiday treat, sprinkle crushed peppermint candies on top before baking!
- Try adding chopped nuts like pecans or walnuts for an extra crunch.
Serving Suggestions
- Pair these Red Velvet Cookies with a glass of cold milk for a nostalgic treat.
- Serve them alongside a scoop of vanilla ice cream for an elevated dessert experience.
- For a special touch, dust them with powdered sugar for a stunning presentation.
- Arrange cookies on a decorative plate for gatherings or parties to impress your guests.
FAQs about Red Velvet Cookies
Let’s dive into some common questions about these delightful Red Velvet Cookies!
Can I make these cookies ahead of time?
Absolutely! You can prepare the dough ahead of time and store it in the refrigerator for up to two days. Just remember to let it sit at room temperature for a few minutes before scooping and baking.
What’s the best way to store leftover cookies?
The best way to keep your Red Velvet Cookies fresh is to store them in an airtight container at room temperature. They’ll stay delicious for up to three days.
Can I freeze the cookies?
Yes! To freeze, place baked cookies in a single layer on a baking sheet. Once frozen, transfer them to a zip-top bag. They will last up to three months in the freezer!
What other flavors pair well with Red Velvet?
Pairing them with cream cheese frosting or a tangy lemon glaze can elevate that decadent experience. Enjoy the exploration!
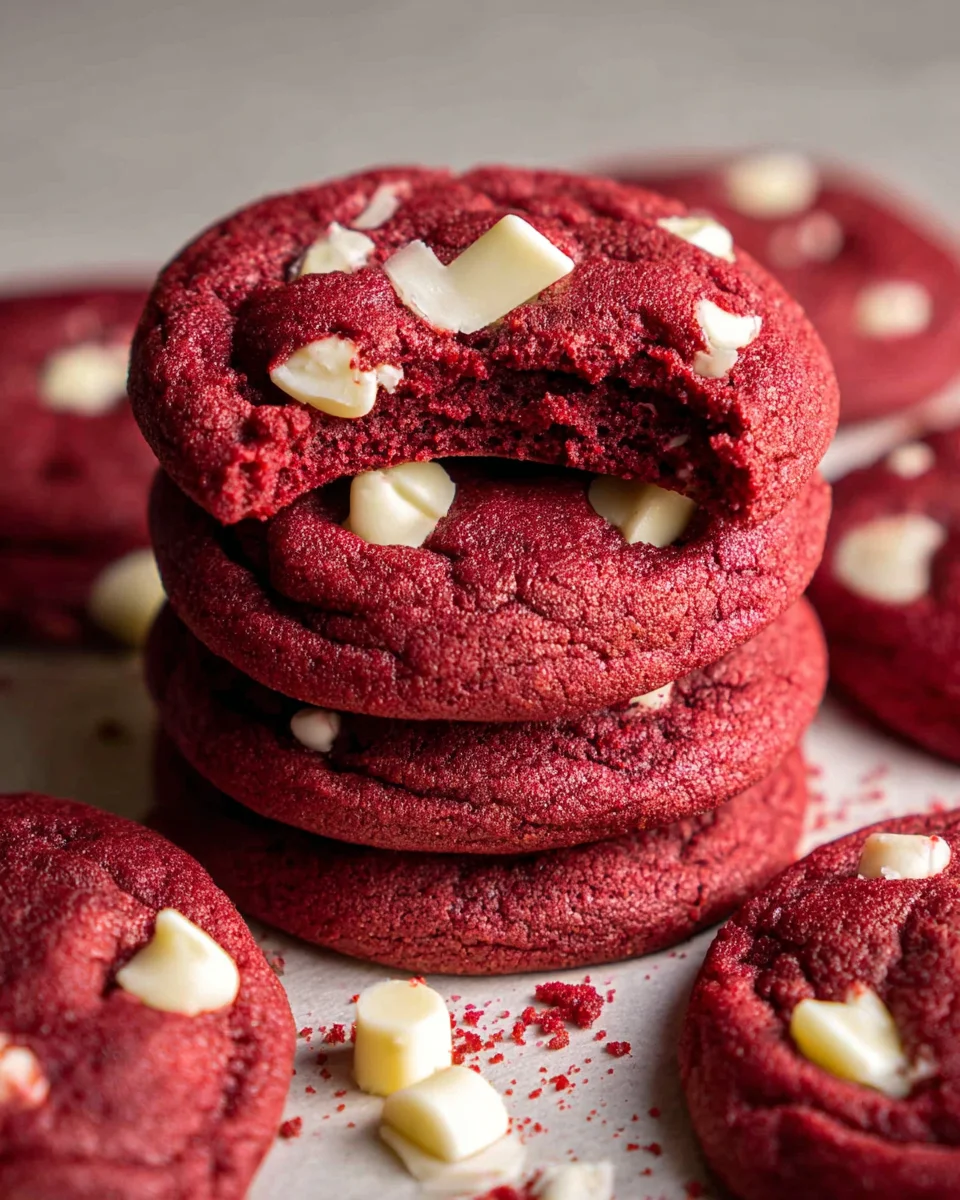
Final Thoughts
There’s something truly special about baking Red Velvet Cookies that goes beyond the delightful flavor and vibrant color. They bring joy to the kitchen and create lasting memories with loved ones. Every bite is a little celebration, a token of affection that says, “I care!” Whether you whip them up for a casual snack or a festive gathering, these cookies are bound to brighten your day. So, embrace the process, share them with friends or family, and enjoy the warmth that fills your home. Trust me, once you try them, you’ll find yourself making these irresistible treats time and time again!
Print
Red Velvet Cookies
- Total Time: 27 minutes
- Yield: 18 cookies 1x
- Diet: Vegetarian
Description
These Red Velvet Cookies offer a rich flavor with a beautiful red hue, making them the ultimate decadent treat for any occasion.
Ingredients
- 1 1/2 cups + 2 tbsps (204 g) all-purpose flour, spooned and leveled
- 2 tbsps (10 g) Dutch process cocoa powder
- 1/2 tsp baking soda
- 1/2 tsp baking powder
- 1/2 tsp salt
- 3/4 cup (168 g) salted butter, softened
- 3/4 cup (165 g) light brown sugar
- 1/4 cup (50 g) granulated white sugar
- 2 egg yolks, at room temperature
- 1 tbsp vanilla
- 1–1 1/2 tsp red gel food coloring
- 3/4 cup (150 g) chopped white chocolate or white chocolate chips
Instructions
- Preheat oven to 350 degrees. Line two baking sheets with parchment paper and set aside.
- In a small bowl, add flour, cocoa powder, baking soda, baking powder, and salt. Whisk to combine and set aside.
- In a large bowl, cream together softened butter, light brown sugar, and granulated sugar with an electric mixer for two minutes until light and fluffy.
- Add egg yolks, vanilla, and red food coloring to the mixture and mix on medium speed for two minutes, or until fluffy.
- Mix in the dry ingredients until combined.
- Add chopped white chocolate and mix just until incorporated.
- Scoop the dough into 18 balls and arrange them two inches apart on the prepared baking sheets.
- Bake the cookies for 10-12 minutes (shorter for slightly underdone centers, longer for a crispier edge).
- Remove from the oven and let cool for 5 minutes on the baking sheet before transferring to a cooling rack for an additional 5 minutes. Optionally, add extra white chocolate chunks on top after baking.
- Store leftovers in an airtight container for up to three days.
Notes
- Add extra white chocolate chunks on top after baking if desired.
- Store cookies in an airtight container to maintain freshness.
- Prep Time: 15 minutes
- Cook Time: 12 minutes
- Category: Dessert
- Method: Baking
- Cuisine: American
Nutrition
- Serving Size: 1 cookie
- Calories: 150
- Sugar: 10g
- Sodium: 120mg
- Fat: 7g
- Saturated Fat: 4g
- Unsaturated Fat: 2g
- Trans Fat: 0g
- Carbohydrates: 20g
- Fiber: 1g
- Protein: 2g
- Cholesterol: 30mg
Keywords: Red Velvet Cookies, Cookies, Dessert, Baking