
Introduction to Sushi Salmon Bake
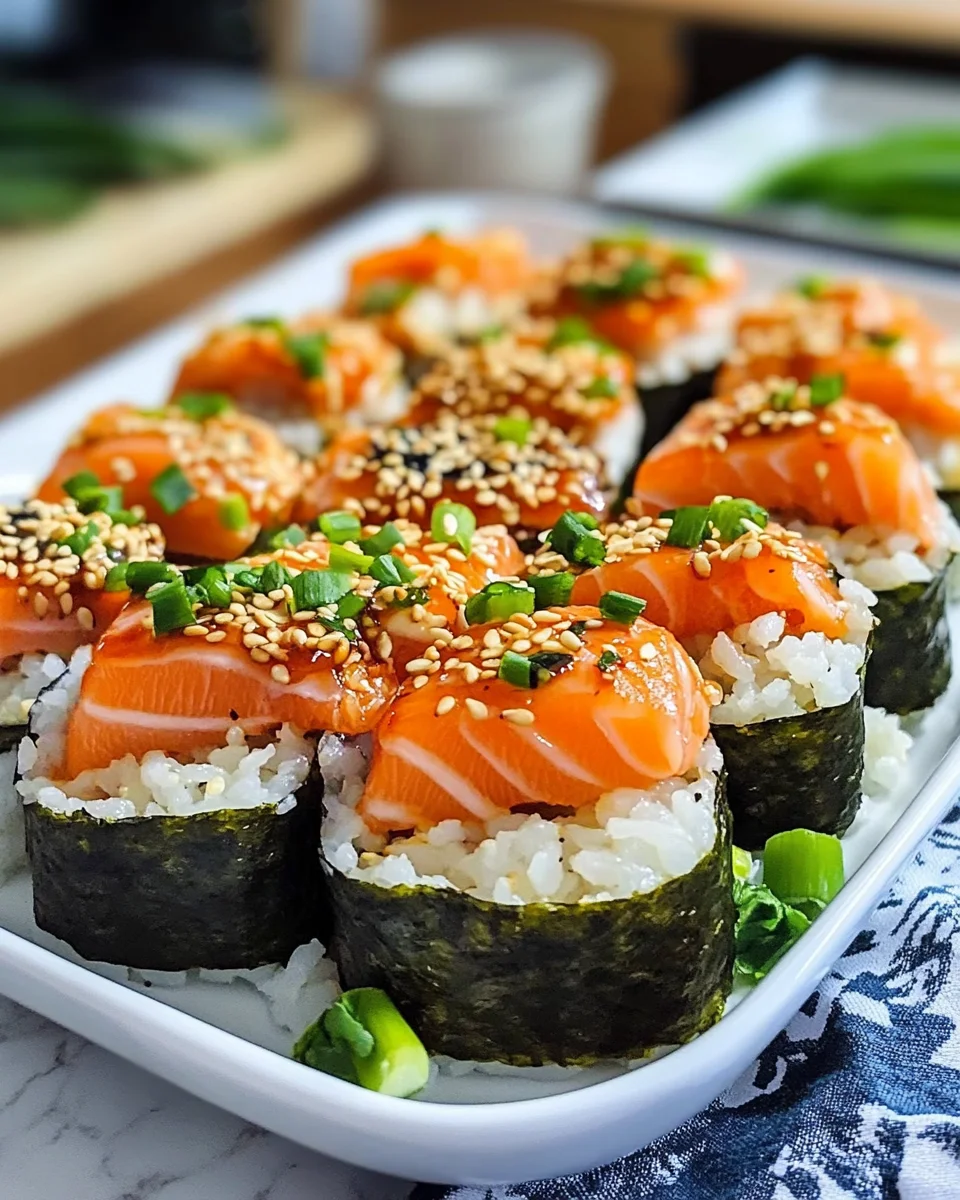
Step into my kitchen where the magic of cooking unfolds! Today, I’m thrilled to share my beloved Sushi Salmon Bake—a delightful twist on the time-honored sushi that’s perfect for busy moms and professionals alike. Picture this: a creamy, baked salmon dish that brings joy to your family table in just under an hour. When life gets hectic, this recipe offers a quick solution to satisfy those sushi cravings without the fuss. It’s not just a meal; it’s a chance to create memories with your loved ones, all while enjoying a gorgeous flavor explosion!
Why You’ll Love This Sushi Salmon Bake
This Sushi Salmon Bake is a game changer for busy weeknights. It merges the delightful flavors of sushi with the convenience of baking, so you can whip up a delicious meal in no time. Plus, the creamy sauce adds a comforting richness. Whether you’re impressing guests or treating your family, this dish is sure to make you feel like a culinary rock star in your own home!
Ingredients for Sushi Salmon Bake
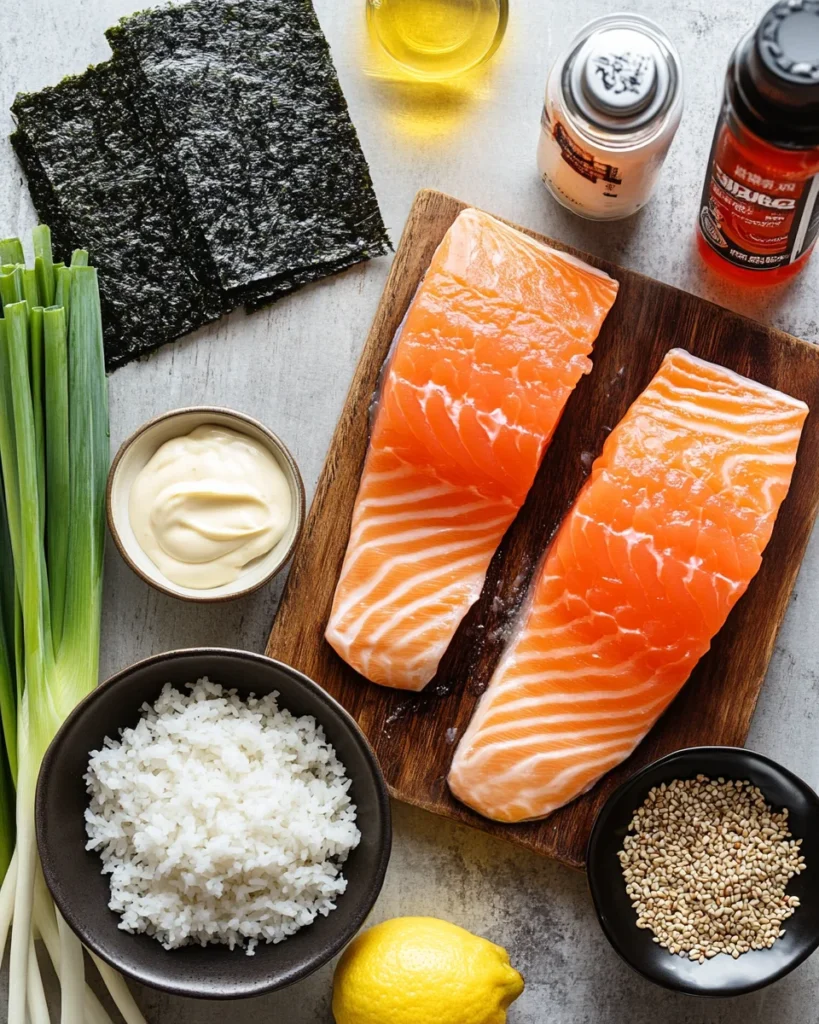
This dish comes together with a delightful medley of ingredients, each playing a crucial role in building flavor and texture. Let’s dive into what you’ll need!
- Fresh salmon fillets: Skinless and boneless, salmon serves as the star ingredient. Its rich flavor and soft texture are perfect for baking.
- Sushi rice: Essential for that satisfying sushi experience. Use high-quality sushi rice for the best results; it gets wonderfully sticky and holds everything together.
- Rice vinegar, sugar, and salt: These trio elements season the rice, giving it a touch of tangy sweetness that beautifully complements the salmon.
- Mayonnaise: I suggest using Japanese Kewpie mayo for its unique flavor, but regular mayonnaise works too! It creates a creamy base for the sauce.
- Sriracha sauce: A spicy kick to the creamy sauce—adjust the amount based on your spice tolerance! Add as much or as little as you like.
- Soy sauce: This salty umami hit enhances the overall flavor. Opt for low-sodium if you’re watching your salt intake.
- Sesame oil: A little drizzle goes a long way, adding a delicious nutty aroma that elevates the dish.
- Lemon juice: Brightens up the flavors and adds freshness—don’t skip it!
- Furikake seasoning (optional): This Japanese condiment adds depth and a hint of seaweed flavor. It’s totally optional but can make a delightful difference.
- Chopped green onions: A colorful garnish that also brings a mild onion flavor—perfect for adding brightness.
- Toasted sesame seeds: A crunchy topping that adds texture and nutty notes—a lovely finishing touch!
- Nori strips (optional): Use these seaweed strips if you want to accentuate the sushi theme and add an extra layer of flavor.
For exact measurements, you’ll find them conveniently listed at the bottom of the article, ready for printing. Happy cooking!
How to Make Sushi Salmon Bake
Ready to transform your kitchen into a sushi haven? Let’s dive right in! Making this Sushi Salmon Bake is a breeze. Follow these simple steps, and you’ll have a delightful meal ready in no time!
Step 1: Preheat Your Oven
First things first, let’s get that oven warmed up! Preheat it to 375°F (190°C). While it’s heating, take your fresh salmon fillets and place them on a baking sheet lined with parchment paper.
Season the salmon with a pinch of salt and pepper. This will enhance the flavor beautifully. Bake the salmon for 12-15 minutes or until it flakes easily with a fork. Your kitchen will smell divine as it cooks!
Step 2: Cook Sushi Rice
Next up, it’s time for the sushi rice! Cook the rice according to package instructions for the best results. Once it’s done, transfer the rice to a large bowl while it’s still warm.
Here’s a secret: while the rice is warm, stir in rice vinegar, sugar, and salt. This trio adds that signature tangy sweetness to the rice, making it irresistible.
Step 3: Prepare the Creamy Sauce
Now, let’s whip up that creamy sauce that ties it all together. In a small bowl, mix together mayonnaise, sriracha sauce, soy sauce, sesame oil, and lemon juice.
Stir until the mixture is smooth and well combined. Adjust the sriracha to your taste; you can make it fiery or keep it milder. Your choice!
Step 4: Combine Ingredients
With everything ready, it’s time for some mixing magic. Flake the cooled salmon into bite-sized pieces.
Gently fold these pieces into the prepared sushi rice in a baking dish—about 9×9 inches works wonders. Spread the salmon-rice mixture evenly, and let the flavors mingle. Then, pour the creamy sauce over the top, using a spatula to spread it evenly.
Step 5: Bake It Beautifully
Time for the pièce de résistance—baking! Slide the baking dish into your preheated oven and bake for 15-20 minutes. Look for that golden, bubbly top—what a sight!
When it finishes baking, let it sit for a few minutes. This rest time allows the flavors to settle in beautifully.
Step 6: Garnish and Serve
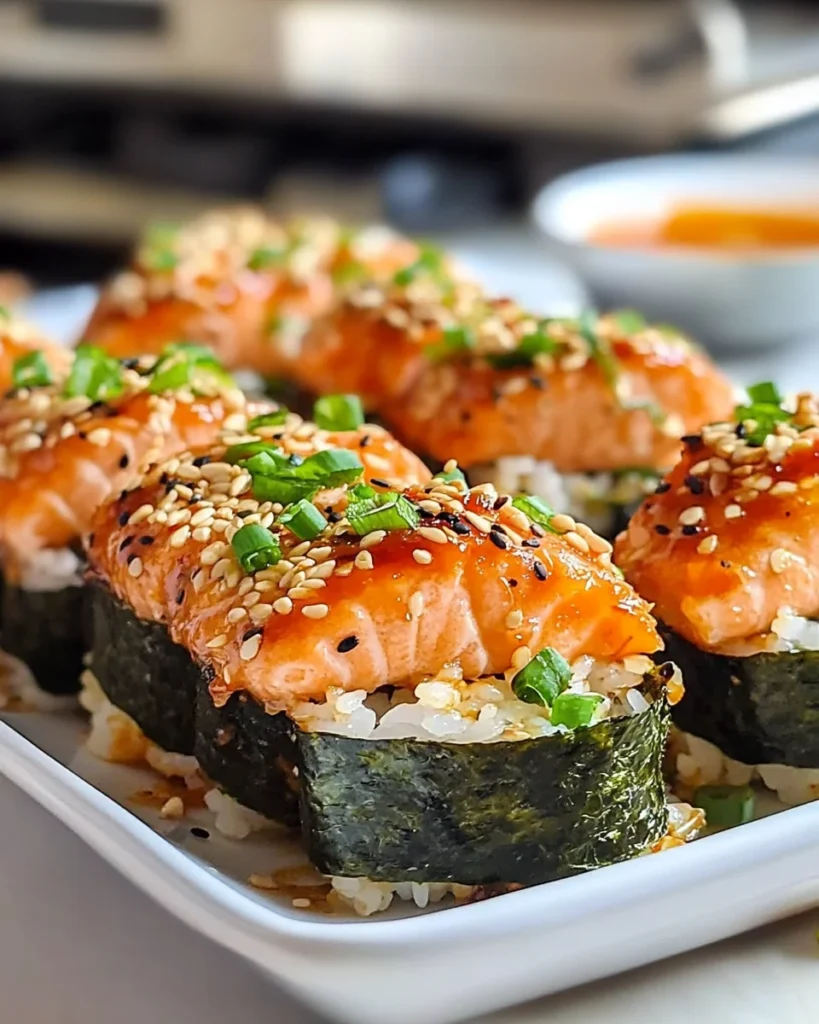
Your Sushi Salmon Bake is looking scrumptious! Now, let’s add some garnishes. Sprinkle chopped green onions, toasted sesame seeds, and nori strips (if you’re using them) on top.
This adds a pop of color and extra flavor. Serve it warm, and prepare for smiles all around the table—this dish is sure to impress!
Tips for Success
- Ensure your salmon is fresh for the best flavor and texture.
- Use a non-stick baking dish for easy cleanup.
- Let the rice cool slightly before mixing with the salmon to prevent clumping.
- Feel free to experiment with the sauce—add more sriracha for spiciness!
- Use leftover sushi salmon bake in wraps or salads for a quick lunch the next day.
Equipment Needed
- Baking sheet: A standard size works fine, but a glass dish can also do the trick.
- Parchment paper: Great for easy cleanup; aluminum foil is a good substitute.
- Mixing bowls: Use any size; smaller bowls are perfect for sauces.
- Spatula: Ideal for mixing and spreading; a spoon works too!
Variations of Sushi Salmon Bake
- Spicy Tuna Version: Swap the salmon for fresh tuna, and adjust the sauce with more sriracha for an added kick!
- Veggie Delight: Add diced vegetables like cucumber and avocado to the rice for a refreshing twist.
- Cauliflower Rice: For a low-carb option, substitute sushi rice with seasoned cauliflower rice—healthier and just as tasty!
- Gluten-Free Option: Use tamari instead of soy sauce to keep it gluten-free and just as flavorful!
- Herb Infusion: Mix in fresh herbs, like cilantro or basil, into the rice, adding a burst of freshness and flavor.
Serving Suggestions for Sushi Salmon Bake
- Steamed Vegetables: Pair with a side of vibrant, steamed veggies like broccoli or snap peas for color and crunch.
- Green Salad: A light, refreshing green salad with a sesame dressing complements the richness beautifully.
- Wine Pairing: Try a chilled Riesling or Sauvignon Blanc to enhance the meal.
- Presentation Tip: Serve in individual bowls for a personal touch—garnish with extra green onions for flair!
FAQs about Sushi Salmon Bake
Curious about this delightful Sushi Salmon Bake? Here are some frequently asked questions that can help guide you through the cooking process and enhance your culinary experience!
Can I use frozen salmon for this recipe? Absolutely! Just ensure to thaw the salmon completely before baking. It may take a bit longer to cook, so check for doneness with a fork.
Can I make this dish ahead of time? Yes! You can prepare the salmon and rice in advance and assemble everything. Just pop it into the oven when you’re ready to bake. This saves you time during busy evenings!
How do I store leftovers? Store any leftovers in an airtight container in the fridge for up to three days. Reheat it gently in the oven for the best texture.
Is this recipe gluten-free? Yes! Just make sure to use gluten-free soy sauce or tamari, and you’re all set for a delicious gluten-free meal!
What sides go well with Sushi Salmon Bake? A crisp green salad or some lightly steamed vegetables like broccoli complement the richness of the bake perfectly. You can also serve it with some pickled ginger for an extra flavor kick!
Final Thoughts
Making this Sushi Salmon Bake has been a joyful culinary adventure for me, and I hope it becomes one for you too! Each bite is filled with warmth, flavor, and a connection to something traditional yet wonderfully unique. I love how easy it is to prepare; it fits snugly into busy schedules while still feeling special. Whether you’re feeding a crowd or just treating yourself, this dish brings smiles and satisfaction to the table. So roll up your sleeves and dive into this delightful recipe that transforms wholesome ingredients into a stunning masterpiece everyone will enjoy!
Print
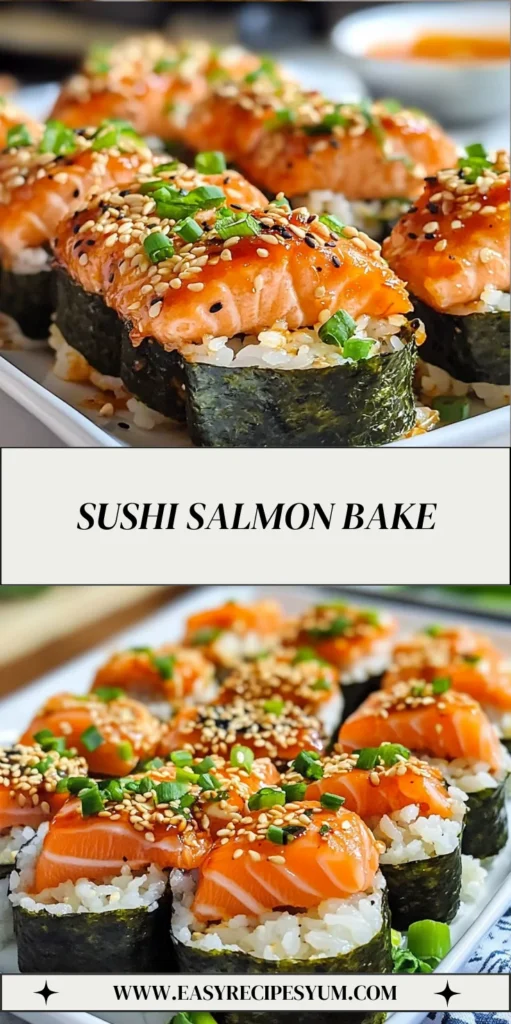
Sushi Salmon Bake: A Delicious Twist on Tradition!
- Total Time: 50 minutes
- Yield: 4 servings 1x
- Diet: Gluten Free
Description
A delicious twist on traditional sushi using baked salmon, sushi rice, and a creamy spicy sauce.
Ingredients
- 1 lb fresh salmon fillets, skinless and boneless
- 2 cups sushi rice (cooked according to package instructions)
- 1 tablespoon rice vinegar
- 1 tablespoon sugar
- 1 tablespoon salt
- ½ cup mayonnaise (preferably Japanese Kewpie mayo)
- 2 tablespoons sriracha sauce (adjust to spice preference)
- 1 tablespoon soy sauce
- 1 teaspoon sesame oil
- 1 teaspoon lemon juice
- 1 tablespoon furikake seasoning (optional)
- 1–2 tablespoons chopped green onions (for garnish)
- 1 tablespoon toasted sesame seeds (for garnish)
- 1 tablespoon nori strips (optional for garnish)
Instructions
- Preheat your oven to 375°F (190°C). Place the salmon fillets on a baking sheet lined with parchment paper. Season with salt and pepper, then bake for 12-15 minutes or until the salmon is cooked through and flakes easily with a fork. Remove from the oven and let it cool slightly.
- While the salmon is baking, cook the sushi rice according to the package instructions. Once cooked, transfer the rice to a large bowl. While it’s still warm, stir in the rice vinegar, sugar, and salt. Let the rice cool slightly.
- In a small bowl, combine the mayonnaise, sriracha sauce, soy sauce, sesame oil, and lemon juice. Stir until smooth and well combined.
- Flake the cooled salmon into bite-sized pieces and gently mix it with the cooked sushi rice in a baking dish (around 9×9 inches). Spread the salmon-rice mixture evenly. Spoon the creamy sauce mixture on top and spread it out evenly to cover the salmon and rice.
- Place the baking dish in the preheated oven and bake for 15-20 minutes or until the top is golden and bubbly.
- Remove the dish from the oven. Garnish with chopped green onions, toasted sesame seeds, and nori strips (if using). Serve warm.
Notes
- Adjust the amount of sriracha to suit your spice preference.
- Furikake seasoning adds an additional flavor profile, but it is optional.
- Can be served warm or at room temperature.
- Prep Time: 15 minutes
- Cook Time: 35 minutes
- Category: Main Course
- Method: Baking
- Cuisine: Japanese
Nutrition
- Serving Size: 1 serving
- Calories: 450
- Sugar: 3g
- Sodium: 600mg
- Fat: 28g
- Saturated Fat: 5g
- Unsaturated Fat: 22g
- Trans Fat: 0g
- Carbohydrates: 35g
- Fiber: 1g
- Protein: 20g
- Cholesterol: 60mg
Keywords: Sushi Salmon Bake, salmon sushi, baked sushi, Japanese cuisine